Hi Everyone! Christmas is right around the corner and if you are super busy, Fast Friday is the answer! The design team has come up with some great projects that can be done super quickly! Not to mention, they are super cute!!
Let's take a look at what the design team has come up with today!
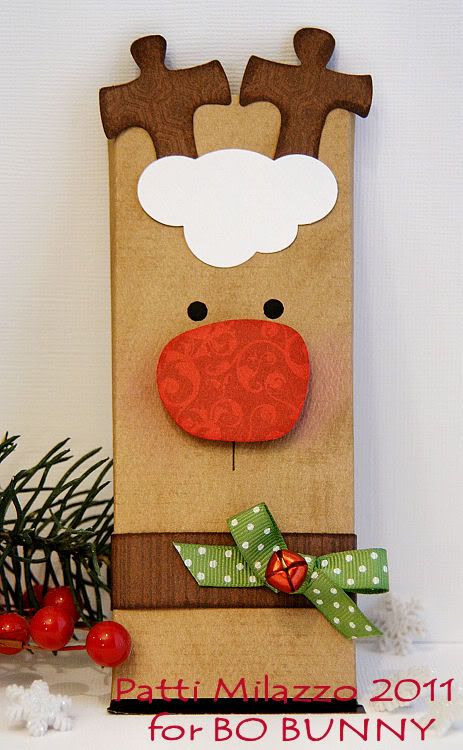
Rudolph Candy Wrapper
Patti Milazzo
Patti Milazzo
Packaging for small gifts and stocking stuffers can be kept simple yet still be creative. The snowman candy bar wrapper has been a favorite of mine – who doesn’t like the gift of chocolate, right? For my project, I was inspired to make my own reindeer version of this idea using some of my favorite go-to supplies, Bo Bunny Cardstock and a little bit of Double Dot Ribbon.
Bo Bunny Supply List:
Cardstock: Dot/ Decaft & Sugar; Flourish/Wild Berry; Stripe/Chocolate
Ribbon: 3/8 Clover
Other Supplies: chocolate bar, small jingle bell, black paint or black broad point marker; black fine tip marker; pink artist/scrapbook chalk or discarded powdered blush; Fiskars Punches (cloud, puzzle piece, a little out of shape) Optional - scallop edged scissors and puzzle pieces
Patti has even made a tutorial to help you make these cuties!!
Instructions:
1. Cut 5 ¾”H x 6”W piece of cardstock – you can get 4 wrappers from 1 – 12” sheet.
2. From the left, score at the 1 ½” mark , then score ¼” over from that, then 2 ¼” over from that, then ¼” over. Fold the score lines. This will create a sleeve for the candy bar. Set aside.
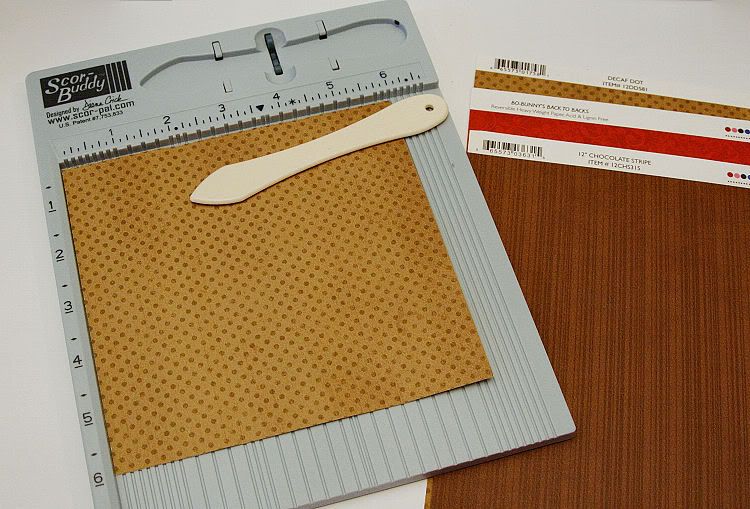
1. Cut 5 ¾”H x 6”W piece of cardstock – you can get 4 wrappers from 1 – 12” sheet.
2. From the left, score at the 1 ½” mark , then score ¼” over from that, then 2 ¼” over from that, then ¼” over. Fold the score lines. This will create a sleeve for the candy bar. Set aside.

3. Punch a shape for the nose. I had an irregular square that I wanted to use, but you can just as easily use a circle (about 1.5”) or even a square. I used punches for the antlers (trim off one end) and tuft of white fur as well. Use adhesive to layer these pieces at the top of the wrapper.
Tip: Other alternatives could be actual puzzle pieces covered in cardstock (or painted brown) for the antlers and a punched white oval trimmed with scalloped scissors for the tuft of fur.
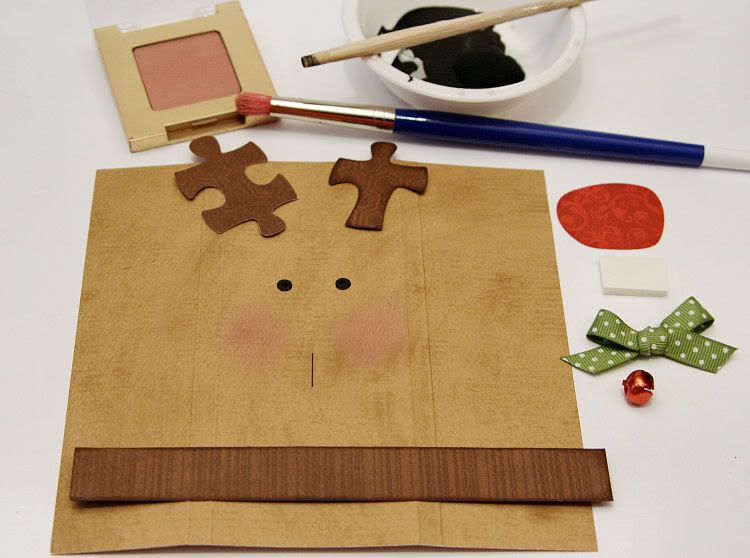
Tip: Other alternatives could be actual puzzle pieces covered in cardstock (or painted brown) for the antlers and a punched white oval trimmed with scalloped scissors for the tuft of fur.

4. Place the wrapper face up and at about the middle apply the “blush” with either chalk or real blush with a cotton swab or stiff bristle paint brush. Next, add eyes – I positioned the nose to help space the eyes and mouth. I then used the blunt end of an old paint brush dipped in black acrylic to dot the eyes but you can also simply do the same with a broad tip marker. Mark a line or a smile below where the nose will be.
5. Add the nose with a bit of adhesive foam for dimension.
6. Carefully wrap the candy bar with the wrapper and secure with adhesive.
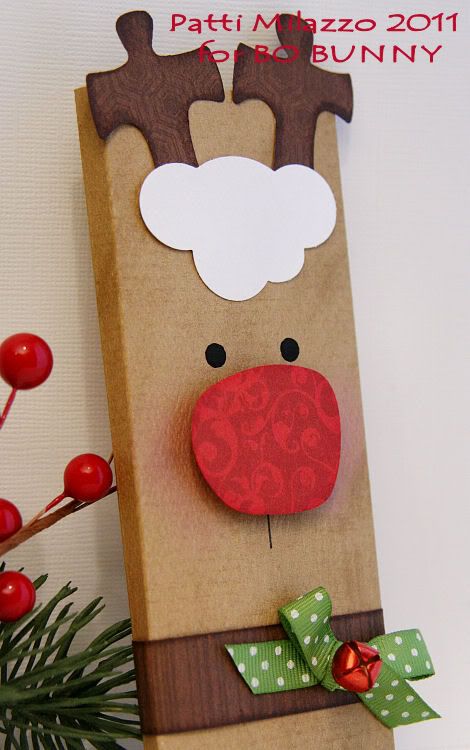
7. Cut a 6” strip of Chocolate cardstock and wrap this around the bottom of the candy bar – this is Rudolph’s collar. Accent with a ribbon bow and jingle bell. It’s ready to share & enjoy!
Suggestions:
-Give this as is or attach a gift card to the back or even tucked inside the wrapper as an extra surprise.
- Apply the same basic design to cards, pillow boxes, tags or any packaging.
Merry Christmas & Happy Holidays!!!
-Give this as is or attach a gift card to the back or even tucked inside the wrapper as an extra surprise.
- Apply the same basic design to cards, pillow boxes, tags or any packaging.
Merry Christmas & Happy Holidays!!!
Next up is this beautiful layout using the new Enchanted Collection from Mireille!
Love
Mireille Divjak
Mireille Divjak
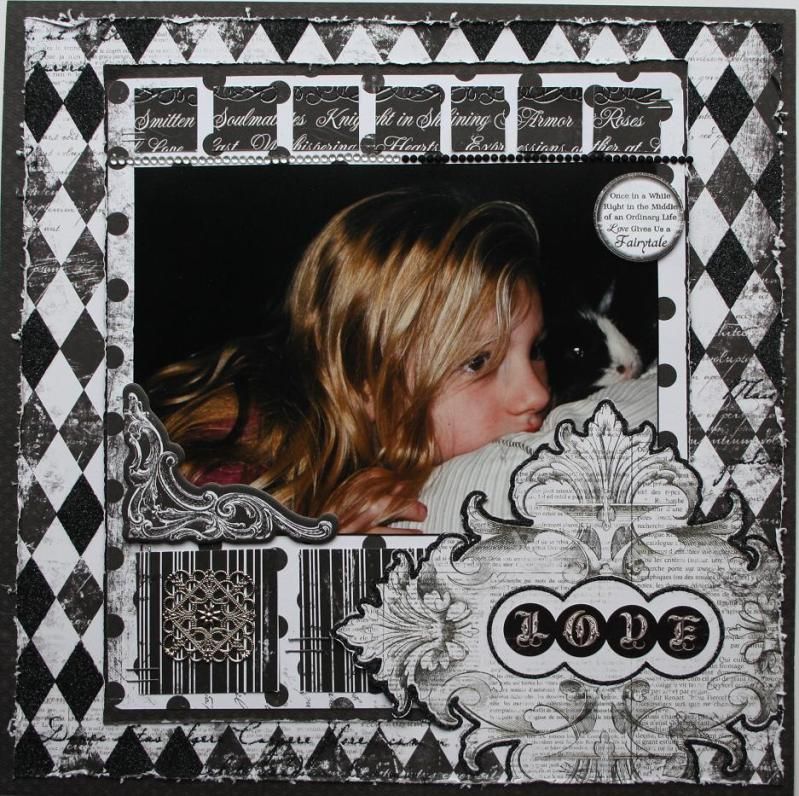
Supplies
Cardstock :Double Dot - Sugar Dot, Licorice Dot
Patterned Paper: Enchanted- harlequin, fairytales, whispers
Trinkets: Enchanted
Jewels: Enchanted, Smoochable
Combo Stickers: Enchanted
chipboard: Enchanted
Staples- Bo Bunny
And Samantha came up with this pretty gift bag idea. This is perfect for a quick and beautiful way to add some flair to your packaging!
Gift Bag
Samantha Wright


Supplies used:
Patterned Paper: Father Christmas 6x6" Pad, Father Christmas Holly
Chipboard: 12" Father Christmas
Other: Punches, stickles chalk ink
Designers Tip: Need a gift bag in a hurry? The Bo Bunny 6" paper pads are perfect for altering gift bags suitable for any occasion. Minimal cutting required!
Don't Forget!
There is still time to participate in the ongoing challenges!
Have a great weekend!
Fantastic inspiration!
ReplyDeletethese are all awesome :)
ReplyDeleteVery nice!
ReplyDeleteGreetings Mieke'S
The reindeer is sooooo adorable! I keep aaaahing over it, lol!
ReplyDeleteThese are all FABULOUS!! I loveeeeeeeeeeeee the reindeer bag! :):):):):):):):):):):):):):)
ReplyDeleteWhat great projects! The reindeer bag is fabulous!
ReplyDeletewhat a marvelous idea..
ReplyDeleteReindeer card :)
how come you got this idea? any source or it is your own?
do share more unique ideas.
Plastic Card
Plastic Card Printing
Rudolph stole my heart :D awesome idea :)
ReplyDeleteLove that Reindeer!!
ReplyDelete