Hello BoBunny Fans it's Sunday Fun day! The day we focus on fun party ideas!
Today I am sharing a Tea Party with you, made with love and lots of BoBunny cardstock, pearlescents and other yummy BoBunny goodies.
Tea Party with BoBunny by Denise van Deventer
I will firstly show you some close-ups of the elements and then share with you, as to how I made them.
Cupcake Wrappers
Thank You Pillow Box
Teacup Pretties
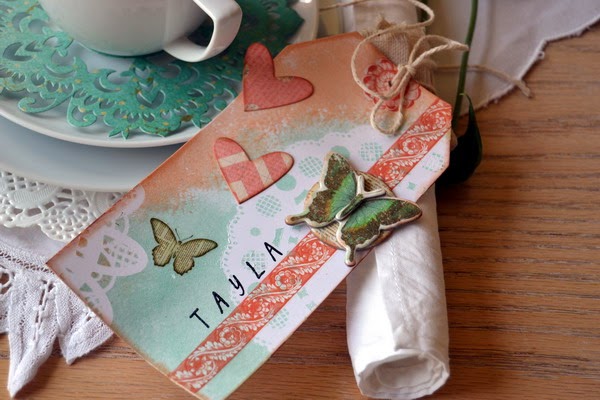
Name Tags
Serviette Rings
I really love the BoBunny cardstock. It is the prettiest cardstock I know. So to make "pretties" from it, I reach for my die-cuts and cut various items.
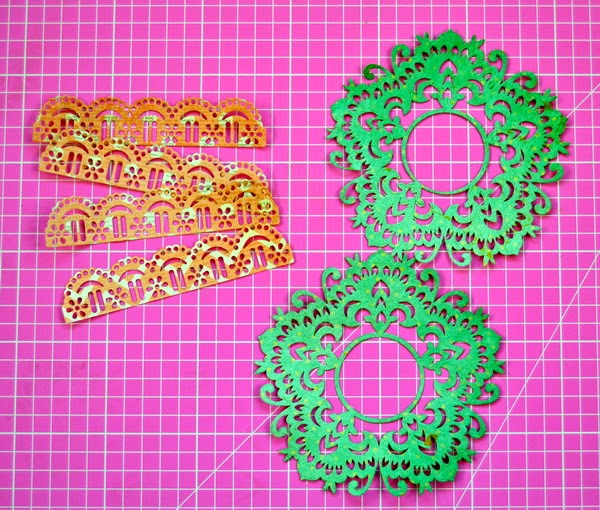
The circular die-cuts were used for in and around the tea cup, the hearts for on the tags and lastly the border die-cut for around the cupcakes.
I cut eight lengths of the border die-cut and then joined 2 pieces together, to give me the 4 circle wrappers. The round die-cuts I used as is. I kept the little fall-out circles from the pink cardstock to use as confetti on the table.
The Kraft canvas pleated lace I used along with some string to make the serviette rings
To make the pillow boxes I used a template from the internet and hand cut the cardstock. I stuck down the edge to complete the shape and then scored the ends. While still flat, I stamped the Thank You. Lastly I folded the sides in and popped in a little chocolate to say thanks for attending my tea party.
To make the name tags I used 4 plain white cardstock tags, along with BoBunny stickable stencils and the pearlescents. I laid the 4 tags down and stuck the stickable stencils over the tags.
I then dabbed the Pearlescent paint over the tags randomly. I completed one colour and then did the other.
Once the pearlescent paint was dry, I then removed the stencils and added the rub-ons, chipboard pieces, flowers and the names were stamped.
From Pinterest, I had learnt to use elastic bands around the alphabet stamps to stamp neat and clean words.
So next time you are thinking of hosting a tea party or dinner party, why not make some "pretties" to add to the flavour!!!
Have a super day!
Denise x
BoBunny Supplies:
Cardstock: Coral Chevron, Chiffon Chevron, Ocean Vintage Double Dot
Stamps: You're Invited / Alphabet Stamps
Doilies: 8.5” Large
Kraft: Canvas Pleated Lace
Ephemera Pack: Enchanted Garden
Stickable Stencils: Lace
Pearlescents: Island Mist, Coral


so many lovely pretty things, great ideas too :)
ReplyDeleteThanks Adriana! ;-)
DeleteVery beautiful! You have definitely inspired me - I'm going to start planning my own tea party now! (And thanks for the tip on the letter stamps - good one!)
ReplyDeleteThanks so much Margaret! It sure was fun and relatively inexpensive! ;-)
DeleteThanks for all the great ideas.
ReplyDeletePleasure Debby, hopefully you can use them! ;-)
DeleteThis is best idea I have ever seen. I just love,love it!
ReplyDeleteThis is just amazing ♥
ReplyDeleteYour tea setting is so beautiful! Each of your fabulous details makes it so welcoming and spectacular.
ReplyDelete