Hi BoBunny friends, Angela here!
I am so happy to share with you my latest page because I really love it.
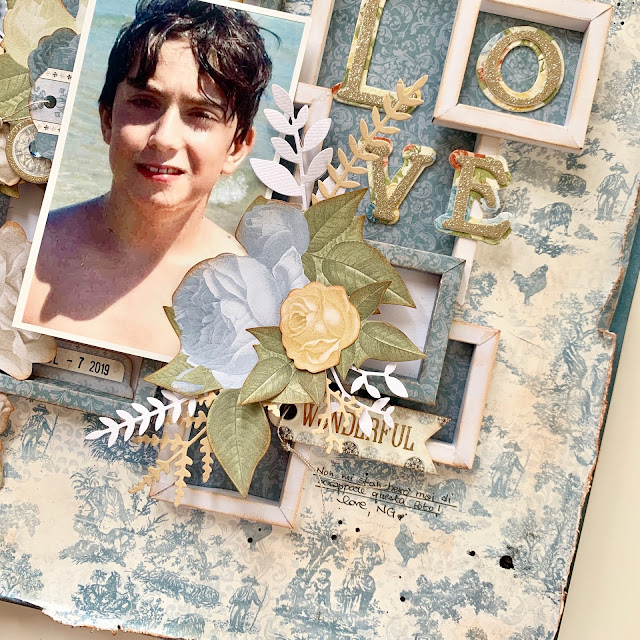
This 12" x 12" scrapbook layout was made with BoBunny Boulevard collection. My today assignment is to give you scrapbook tips and this page of mine fits perfectly the theme.
I would start saying that there's no right or wrong to put together a page, but there are some tricks that can make the process easier, faster and the final page look great.
1- The Photo
This may seem obvious but choosing a beautiful pic is half of the work. By beautiful pic I mean a clear shot. You can always improve the photo with a post editing, since there's plenty of apps out there that does the job.
2- The Paper
Choose a paper collection that matches the colors of your photo/photos and buy both papers and embellishments. I'm not saying you have to buy the whole collection if you don't want to. Just choose a few papers that you like and the ephemera pack or the stickers to make the process smooth. This way you won't spend to much time wondering what to use and if it fits the page.
If the photo doesn't fit the collection you love and absolutely want to use it, I would suggest you using a black and white photo to avoid the problem.
3- Use a Sketch or lift someone else's page
The easiest way to put together a page is to place a photo in the center of the page and place the embellishments around it. If you want to take the page to a step further, you can always use a sketch or get inspired by someone else's page. Pinterest is a great place to gather some ideas but sometimes can be overwhelming. Narrow up the research by looking for to the works of the design team of a brand could be a good choice too.
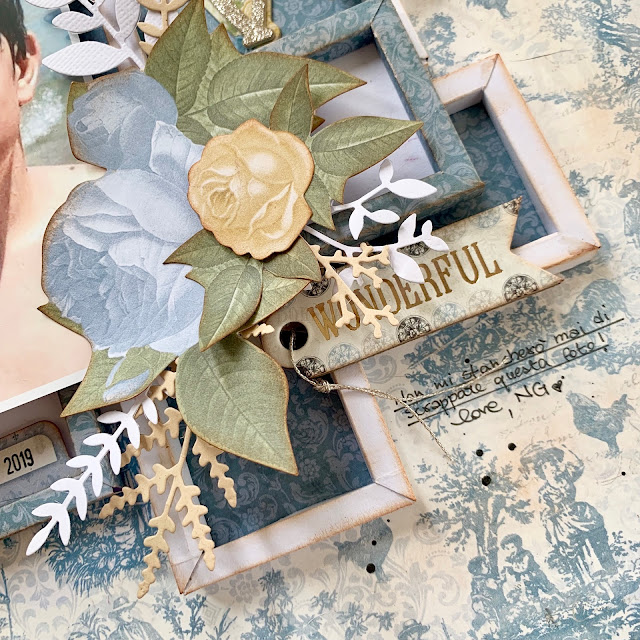
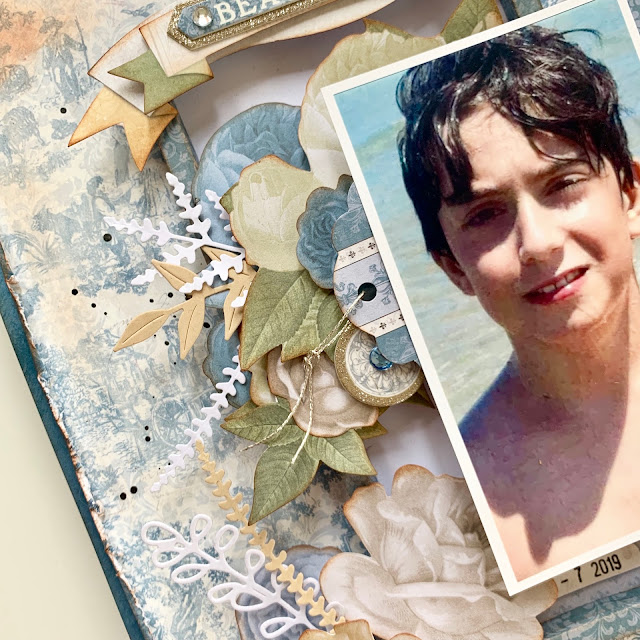
The scrapbook page I'm showing you here is made by overlapping a few paper frames I made by myself. I placed one on another and the photo on top. Each frame is 0.25 inch depth so the page is pretty bulky. My last tip is about how to store these thick pages. Instead of trying to insert them inside the page protectors, I usually glue them on the outside of the page protectors. This way I can keep them in my scrapbook albums.
That's all my basic trips, the ones I use for myself too. I hope you find them useful. Thanks for stopping by today and I'll see you soon here.
Love,
Angela
BoBunny Supplies:
Patterned Papers: 12x12 Boulevard D'Elegance/D'Amour
Noteworthy: Boulevard
Chipboard: Boulevard
Layered Chipboard: Boulevard
AC Sticky Thumb Adhesives: Dimensional Foam/Solid Adhesive Runner/Sticky Dots 0.5 inch flat


No comments:
Post a Comment