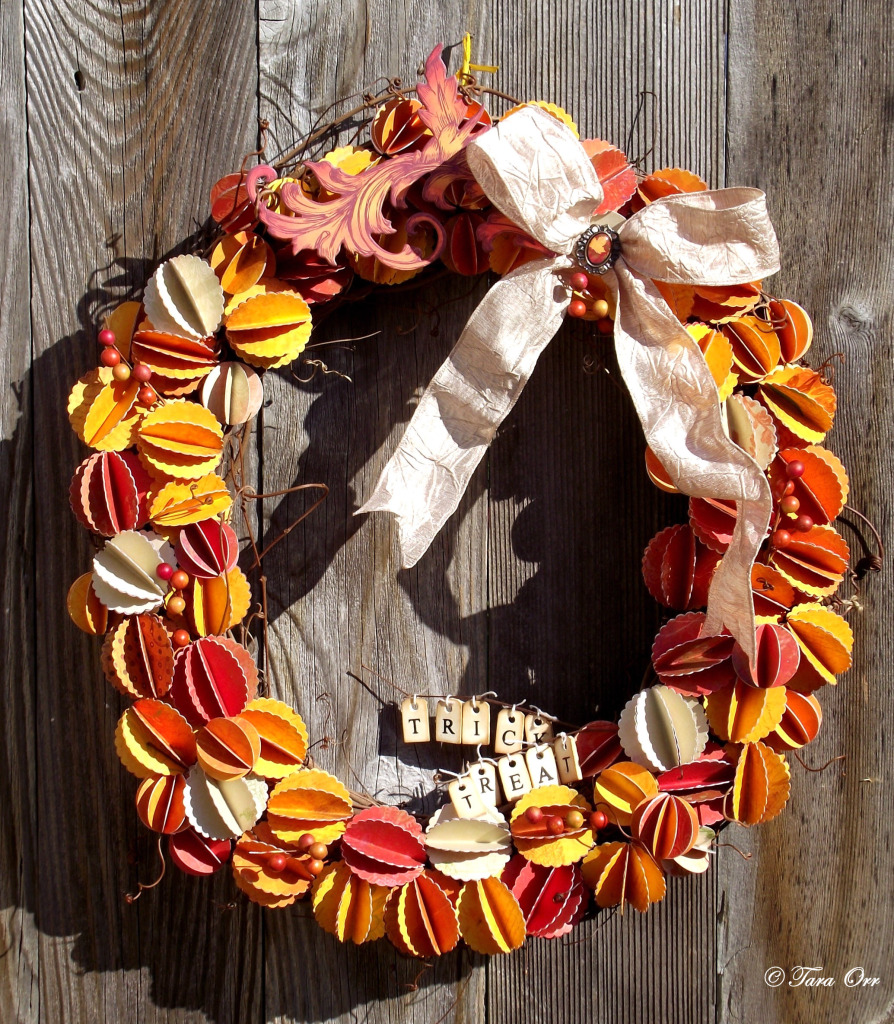
This blog post is going to make you
want to BUST out the Halloween decor...
You may want to put a new ink cartridge in your printer, cuz all these ideas
are worth saving!
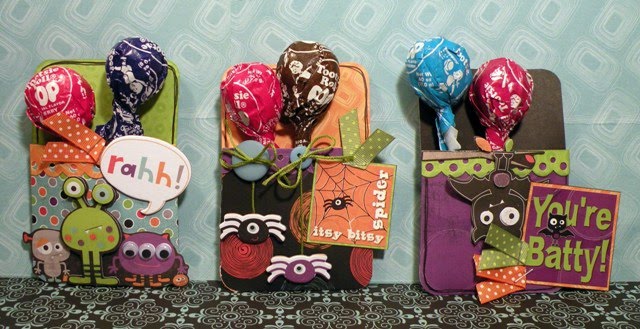
Trick or Treat Box
Designer: Robbie Herring
Designer Tip: To pierce the gumballs, push them gently onto bamboo skewers. The chipboard pieces that are in the arrangement of candy are attached to lollipop sticks. Use Florist's foam to push all the pieces into the arangement and to hold it steady.
Supplies Used:
Whoo-ligans, Whoo-ligans Strip
Whooligans Chipboard, Double Dot Grape Dot
Double Dot Ribbon Orange Citrus
Double Dot Ribbon Grape Dot
Haunted Forest Door Hanger
Designer: Tara Orr
Supplies:
Whoo-ligans Rubons, Whoo-ligans Chipboard
Whoo-ligans Patterned Paper: Monster
Whoo-ligans Patterned Paper: Dot
Whoo-ligans Patterned Paper: Batty
Bo Bunny Grape Dot Cardstock
Misc: Bo Bunny ribbon, buttons, bling
Whoo-ligans Witch
Designer: Juliana Michaels
(Don't you just want her to come visit you?)
Supplies:
Whoo-ligans Dot, Madness, Monsters, Rahh and Stripe
Whoo-ligans Combo Sticker, Whoo-ligans iCandy Brads
Whoo-ligans iCandy Stickers, Whoo-ligans Wrap
No Treats Pillow Box
Designer: Becky Williams
Supplies:
Whoo-ligans collection: Spiders, Stripe patterned papers
Whoo-ligans collection Combo Stickers, chipboard, iCandy Stickers, Cut-Outs
Black double dot ribbon, Stickles glitter glue, ColorBox ink
Whoo-ligans Mobile
Designer: Michele Beck
Supplies used:
Whoo-ligans Madness Pattern Paper, Whoo-ligans Stripe Pattern Paper
Whoo-ligans Whoo-ligans Pattern Paper
Whoo-ligans Rahh Pattern Paper, Whoo-ligans iCandy Brads
Whoo-ligans iCandy Chipboard Layered Stickers
Whoo-ligans Wraps, Whoo-ligans Combo Stickers
Whoo-ligans Monsters on Paradise Stickers
Whoo-ligans Batty for Candy Stickers
Candy or Candle Jar
Designer: Patti Milazzo
Tip: This festive candy jar is also a votive candle holder – it's decorative AND holds Halloween treats for your sweet tooth! You can find the canning jars and glass votive holders just about anywhere, including your local craft store. Fill the jar with candy corn or some other favorite sweet to just below where the glass votive holder will sit so as not to melt the candy when the candle is lit.
Supplies used:
Whoo-ligans Madness Pattern Paper, Whoo-ligans Stripe Pattern Paper
Whoo-ligans Whoo-ligans Pattern Paper, Whoo-ligans Rahh Pattern Paper
Whoo-ligans iCandy Brads, Whoo-ligans iCandy Chipboard Layered Stickers
Whoo-ligans Wraps, Whoo-ligans Combo Stickers
Whoo-ligans Monsters on Paradise Stickers
Whooo-ligans Batty for Candy Stickers
Altered Gum Containers
Designer: Sandra Rupp
Supplies:
Various Whoo-ligans, Learning Curve and Olivia
papers and embellishments.
BOO-YAH Banner
Designer: Carin McDonough
Supplies:
Whoo-ligans Monsters, Whoo-ligans Boo, Whooligans Dot
Whooligans Grrrr, Coordinating Double Dot Kiwi Dot, Ocean Dot and Licorice Dot
Whoo-ligans 12x12 Chipboard, Chunky chips Chipboard Alpha Licorice
Double Dot ribbon Concord and Aquamarine
Others:
EK Success Edger Punch - Deco Scallop, Bubbles
Black cotton
Gone Batty Wall Hanging
Designer: Carole Jansen
If you are interested in more info on making this fun project, please e-mail us.
Supplies:
Whoo-ligans Madness Pattern Paper, Whoo-ligans Stripe Pattern Paper
Whoo-ligans Boo Pattern Paper, Whoo-ligans Bot Pattern Paper
Whoo-ligans Monsters Pattern Paper, Whoo-ligans 12x12 Chipboard
Buttons and Bling, 3/8" Licorice Ribbon, 5/8" Sugar Ribbon
Gift Giving Fun
Designer: Jolanda Meurs
(Jolanda lives in the Netherlands & they don't celebrate Halloween,
but the line is so much fun... she couldn't help herself but to play along)
Supplies:Whoo-ligans Dot, Whoo-ligans Boo, Whoo-ligans Cardstock stickers
Whoo-ligans Combo stickers, Whoo-ligans Chipboard
Have we mentioned lately how much we love our AMAZING Design Team!!!
They truely are a bunch of talented ladies.
Make sure to stop by
facebook and chat and get to know this fantastic bunch of women!