Showing posts with label Sunkissed. Show all posts

Wednesday, August 8, 2012

Introducing "My Scrappin' Shop"

Today we are showcasing a local store...
Local, that is, if you live in or near the Sunshine Coast in Queensland, Australia

 Hi, I’m Teena from My Scrappin’ Shop. Together with my Mum, Rosemary and my sister, Leonie we opened our shop just over 9 years ago on the Sunshine Coast in Queensland, Australia. We have 5 wonderful ladies - Nora, Mel, Barb, Carolyn and Lisa who share their talents with us and inspire all who visit our store.

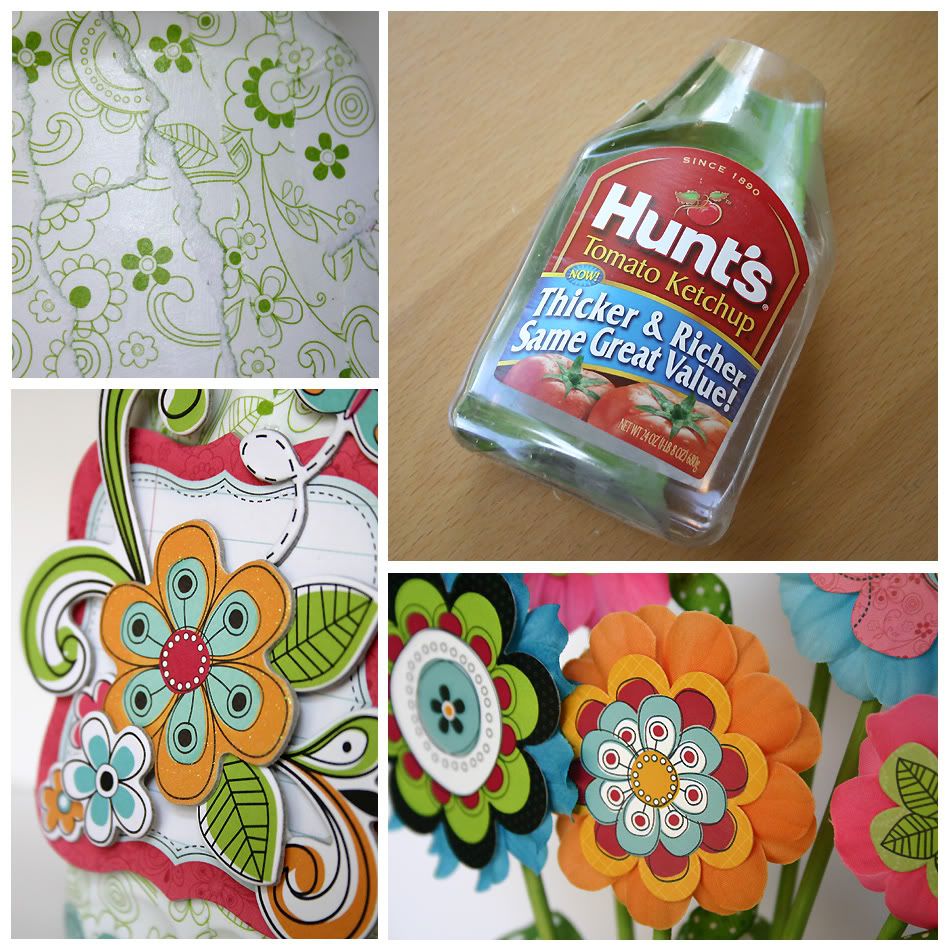
Sunkissed - Wet n’ Wild 

 2 years ago we decided to offer our customers a monthly kit. We wanted to give our customers value for money, a variety of themes, products and styles. The manufacturer had to be reliable and have the capability of designing awesome collections all the time. Of course BoBunny was on the top of the list. So Leonie and I designed the first kit using the Sunkissed Collection and The BoBunny Club was born.

Leonie with a stack of BoBunny kits

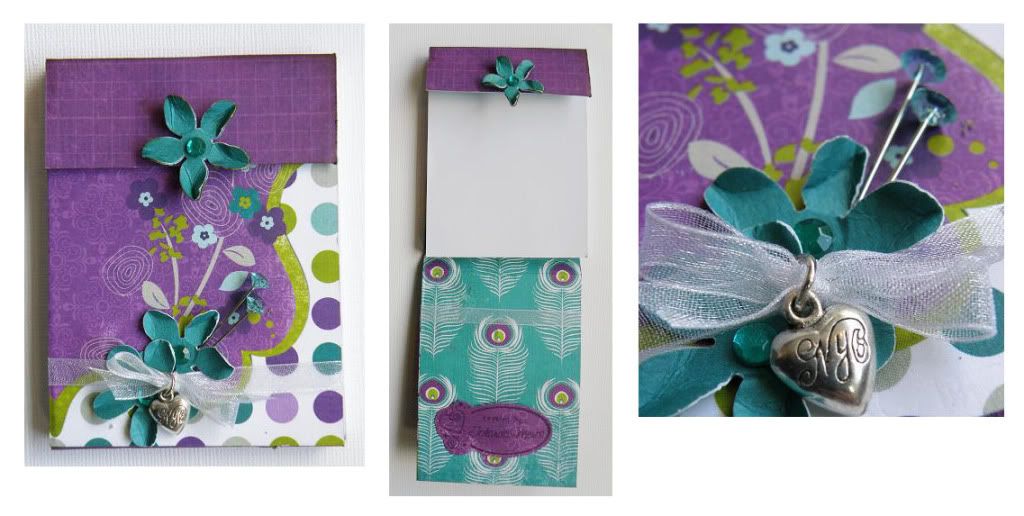
 Every month we create a new kit using new BoBunny papers & embellishments. Each kit contains full instructions to complete 4 pages.  To keep our pages looking fresh we use a variety of techniques and styles inspired by BoBunny designers and the latest trends. And with the variety of themes that BoBunny comes up with, makes it lots of fun.

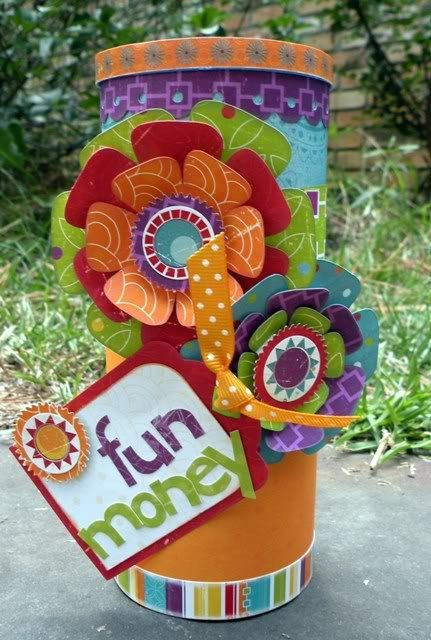
Country Garden – Fun in the Sun
 Every month more and more ladies join the club as they realise it is nice to get a fun parcel in the mail. They can scrap with the latest and the greatest in the comfort of their own home and have full instructions to create wonderful pages. If you are interested in finding out more you can visit our website.  www.myscrappinshop.com.au   Pictured below are some of this year’s pages.


On the Go – Trucks & Dirt


Little Miss – Mum’s Wedding Dress
But before I go, we would like to thank BoBunny for the wonderful opportunity to tell you our story on the BoBunny Blog. And also for the last 10 years of designing and creating fantastic products which has brought joy to so many of us through scrapbooking our family and friends.

Wednesday, August 25, 2010

Altered Project Inspiration

It's always fun to go beyond the scrapbook page when creating.  And creating an altered project is just one way to do that.  Altering something to change that item's original state or purpose is a creative way to recycle, re-use and re-purpose simple things you might find around the house.  Today some of the Design Team took such everyday items and embellished them with Bo Bunny goodness.

"Petal Pushers Blooming Vase"


Designer: Juliana Michaels

Materials used: Bo Bunny Petal Pushers Patterned Paper - Garden; Bo Bunny Petal Pushers Combo Stickers; Bo Bunny Petal Pushers iCandy Chipboard; Bo Bunny Petal Pushers 12 x 12 Chipboard; Bo Bunny Flowers (various); Bo Bunny Double Dot Ribbon in Clover
Other: Altered item - Plastic ketchup bottle

Designer Tip:  To create the ribbon spirals coat them with fabric stiffener. Twist them into a spiral and then pin them in place onto a piece of Styrofoam. Let them dry. Once dry, remove the pins and use as you please.
Tear pieces of patterned paper into small pieces. Coat each piece in a mixture of 1 part Mod Podge to 2 parts water. Adhere to object being altered by adding one piece at a time allowing the pieces to overlap sightly. 


"Peacock Lane Journal Set"


Designer: Jolanda Meurs

Materials used: Bo Bunny's Peacock Lane patterned paper - Plumes, Tweet, Feathers, Dot and Parade; Peacock Lane Cut-Outs; Peacock Lane Noteworthy Journaling Cards


Tips:  The original journals were purchased in the dollar section at a local craft store.
A zipper was cut in half and rolled to create the ribbon-like roses.


"Fun Money Container"


Designer: Frances Sylvia


Materials used: Bo Bunny Sunkissed Patterned Paper - Afternoon, Adventure, Summer, Sun Kissed, Stripe, Party and Squeeze Me; Sun Kissed Combo Stickers; Bo Bunny Sophie Patterned Paper - Stripe (reverse)
Altered Item: Plastic KoolAid Container

Designer Tip: Instead of adhering the paper and embellies to the container, adhere to a piece of cardstock first!! Begin by measuring the height and circumference of the container. **Make sure to add an extra inch to the circumference for overlap.** Then decorate the cardstock with patterned paper and embellies, and adhere to the container. This makes it much easier to adhere and to keep straight.

In this day and time we are trying to teach our kiddos the value of money. And with 4 kiddos, you can imagine that we do not venture out much. So, we decided to take one of the KoolAid containers (pictured above), and fill it with loose change and extra money. Once the container is full, we choose a family night outing! We have eaten at McDonalds and rented a DVD, gotten ice cream, and bought a new game for our Wii. The paper was beginning to get tattered, so I thought why not alter it!!


"Petal Pushers Topiary Tree"
user posted image

user posted image

user posted image

user posted image
Designer: Carole Janson


Materials used: Bo Bunny Petal Pushers Patterned Paper - Doodle, Green House and Stripes; Petal Pushers Flowers; Petal Pushers Buttons & Bling; Petal Pushers Combo Stickers; Petal Pushers 12x12 Chipboard; Double Dot Kiwi Ribbon.


Designer notes: I had this old Topiary Tree that had seen better days, so I decided to recreate it using the gorgeous "Petal Pushers" collection.

Steps:
1. First covered the foam ball with Petal Pushers Material flowers.
2. Then I cut out flowers from the Doodle Petal Pushers pattern paper and layered with foam tape, also added some bling or brads and added dimensional gloss to the finished flower for added detail.
3. I stuck the finished paper flowers over the foam ball covered with the material flowers with a hot glue gun.
Tips: I stuck stickers onto cardstock and cut them out, curled them with my fingers and used foam tape to adhere them onto my project.


Teacher's Candy Apple & Card Gift Set
user posted image

user posted image

user posted image


Designer: Patti Milazzo

Materials used: Learning Curve Patterned Paper - Letters, Bookmark, Applie Pie, Learning Curve, Letters, Dot and Date Due; Learning Curve Cut Outs; Learning Curve 12” Chipboard; Learning Curve Combo Stickers (mini clock from border sticker); Learning Curve iCandy Brads; Flutter Butter Buttons & Bling; Bo Bunny Buttons & Bling empty container
Other: red candy to fill

Tips: The Candy Apple gift is super simple to create if you have a plastic container that you can re-purpose like Bo Bunny's Buttons & Bling packaging. To cut the paper to fit, use the pre-cut label already inside the Button container as the template for the background.  Cut out a piece of red patterned paper for the circle area as well and adhere it to the back of the container.  Although the red paper is not seen well with the container full of candy it gives the project a finished look as the candy disappears.


As you can see altered projects can be creative, fun and affordable.  We hope you enjoyed today's inspiration and that we jump started your creative thoughts about what you can alter next!