Sunday, April 10, 2011

Playing with Distressing

Good Monday to you! Today I thought it would be fun to play a little with a technique that's been around for years and years. There's no wrong way to distress something. There's many different ways to achieve a "distressed" or "aged" look on your projects. I get emails pretty frequently from other scrapbookers asking what inks I use and how I distress my cards. So.... today I will show you. Hopefully my step-by-step photos will help but if you have any questions be sure to leave a comment and I will make sure to respond and help if I can.

My very favorite ink to use is chalk ink called "Jumbo Java" by Versa Magic. They sell it in the dew-drop form (small) but I actually prefer using a standard size ink pad. The chalk inks work well for me because they aren't so wet looking and harsh on the page. Also... if you notice... when I buy a new ink pad I always write the date on it somewhere so I have a quick reference to which pad is oldest. Depending on the project itself.... I may want a darker or lighter inking application and the older the pad or the more it is used, the lighter the ink applies. To achieve the distressed look just take your ink pad and literally brush it along the edges of your paper until you've inked everywhere you want it like I've shown above. Next, I sand all the edges of the paper where I inked. You don't have to sand the edges off if you prefer the darker more bold inked look. I prefer the more subtle look but remember... there's no wrong way to do this. Just what you personally prefer. But now you can see the difference between the two with a little sanding. I just use regular sandpaper, no specific tools for this. Now here's a photo of Bo Bunny's FABULOUS cardstock distressed. I especially love inking this paper because of the texture of it. You also get a fantastic nice white core of the paper showing through once you've sanded the edges of it. Love it!!! Here's my final project all pieced together. I love adding some machine stitching to my cards as well so that's what I do once I've sanded my edges. I love the look of distressing but I don't use it on projects that I want to achieve a "clean" look with. What's your favorite ink to use? Do you have a different technigue for distressing something? I'd love to hear! Leave a comment and tell me what you do or if you liked this quick and simple technique-driven tutorial. When I post again in two weeks I will pick a lucky person to win some fun Vicki B. goodies from Bo Bunny! YAY!!! Thanks for stopping by!

Supplies used on this card: Vicki B. Bubbly, Vicki B. Noteworthy, Passion Fruit Journal cardstock, Mom Knows Best cardstock stickers, Kiwi 5/8" Double Dot ribbon

Friday, April 8, 2011

Sketch Challenge Friday!

user posted image

It's time for another fun Sketch Challenge Friday!  This week's sketch was provided by the very talented Juliana Michaels!

user posted image

The design team has done some fantastic layouts to help inspire you! 

Dreams
By: Juliana Michaels

user posted image

user posted image

user posted image
Supplies:
Ad Lib Scribbles, Pebbles, Wild Thing, Hoopla and Improv Patterned Papers
Double Dot Cardstock in Coffee Dot
Ad Lib Combo Sticker
Ad Lib 12 x 12 Chipboard
Ad Lib Jewels
Ad Lib Life's Good Cardstock Sticker
Designer Tip:
Cut flowers from patterned paper and adhere to layout with double sided foam tape to give them more dimension. Embellish the centers with jewels. Free hand leaves on green paper using a black pen, cut them out and then adhere to your flowers.

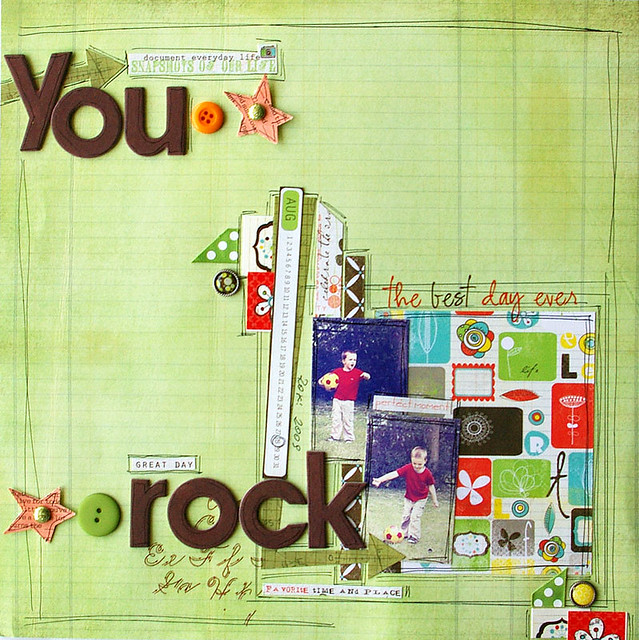
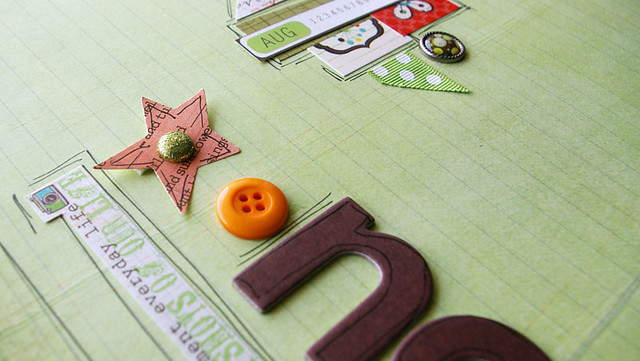
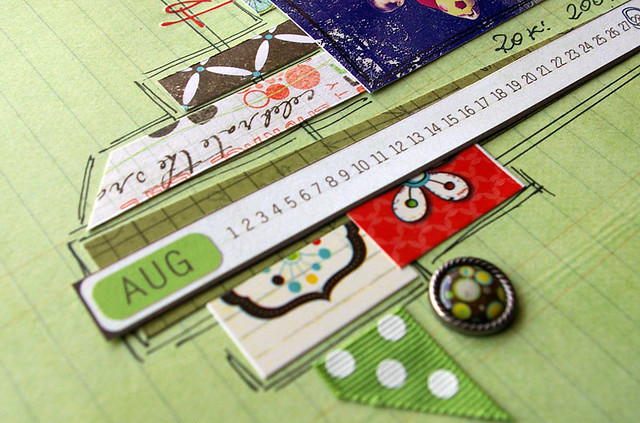
You
By: Agnieszka Piskorz

user posted image

user posted image

user posted image
Supplies:
Ad Lib Vertigo
Ad Lib 6x6 pad
Ad Lib Cut Outs
Ad Lib Combo Stickers
Learning Curve Combo Stickers
Ad Lib Brads
Ad Lib Rub-ons
Learning Curve Rub-ons
Bo Bunny Chipboard Alphabet Stickers
Blast Off Buttons

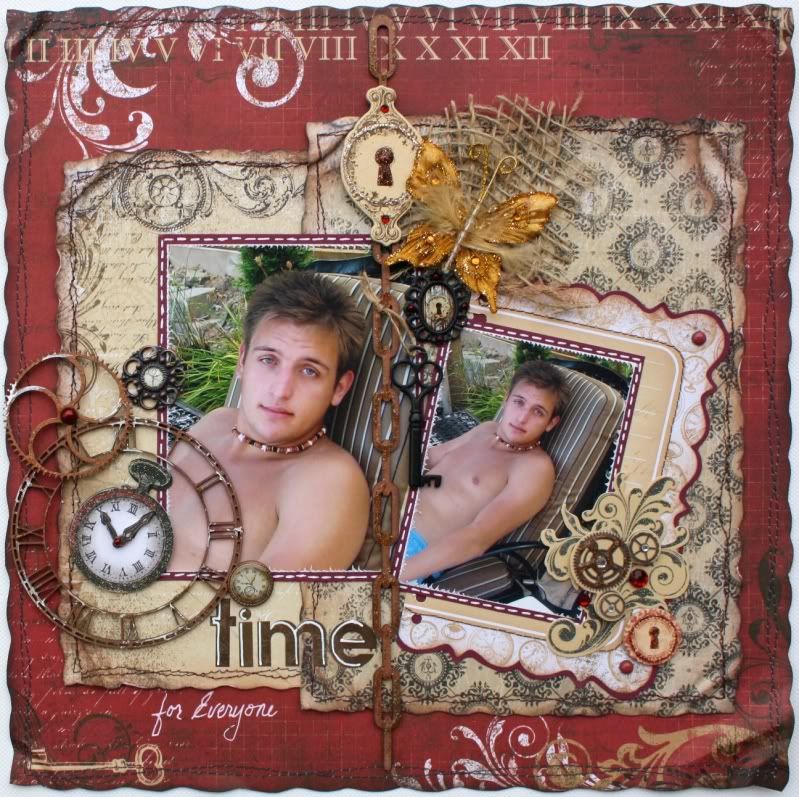
Time
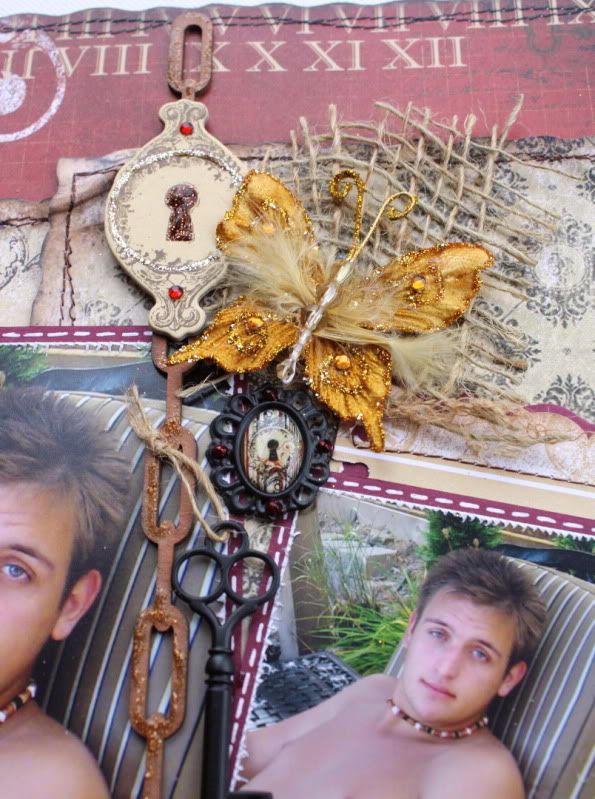
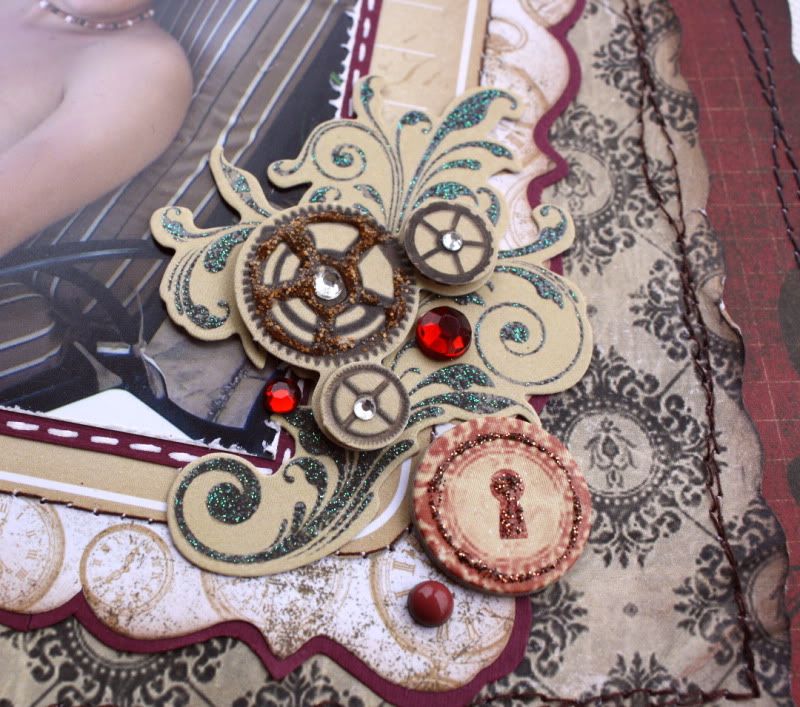
By: Gabrielle Pollacco

user posted image
user posted image
user posted image
Supplies:
Pattern Paper: Timepiece Moments, Timepiece Numbers, Timepiece Home
Timepiece Dimensional Stickers,
Timepiece Trinkets,
Timepiece Brads,
Noteworthy Timepiece,
Timpiece Chipboard,
Timpiece Jewels,
Timpiece Combo stickers

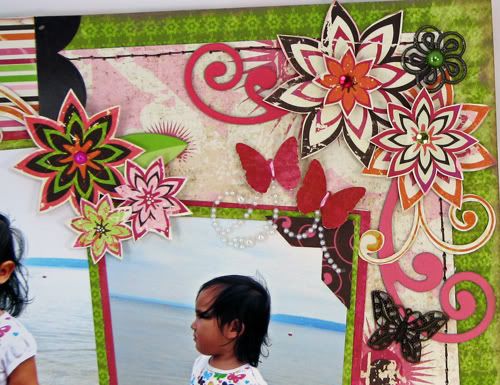
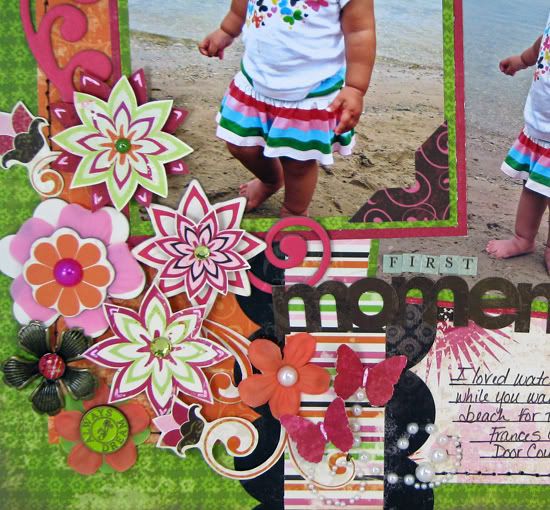
First Moments
By Sarah Eclavea

user posted image

user posted image

user posted image
Supplies: Vicki B papers, Vicki B jewels, Vicki B brads, Vicki B Trinkets, Vicki B 12 x 12 chipboard, Timepiece 12 x 12 combo stickers, Gabrielle Trinkets, Gabrielle cardstock stickers, Bo Bunny petals

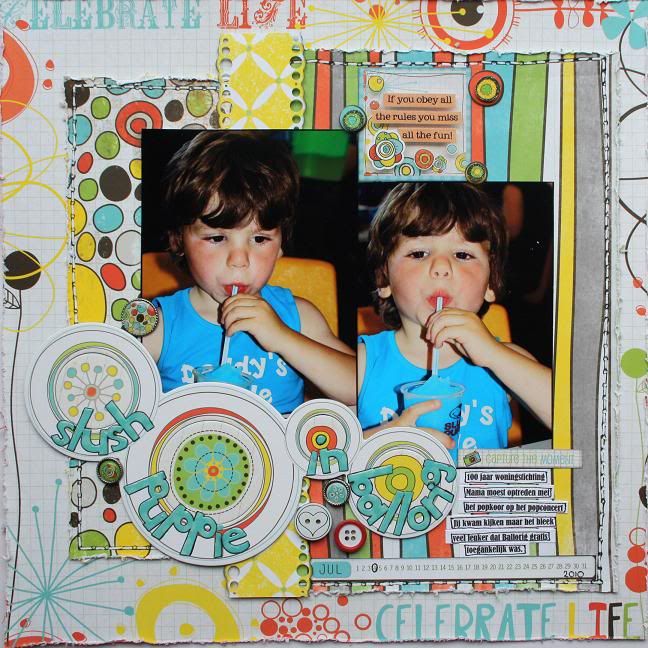
Slush Puppy
By Mireille Divjak

user posted image
Supplies:
Patterned paper: Bo Bunny Ad Lib *pebbles * improve *vertigo *cutouts
alpha stickers, cardstock stickers, dimentional stickers, brads, buttons - Ad Lib

The winner of the last layout challenge is Mandy H. with this beautiful layout!


Make sure to send an email to Bo Bunny at thebobunnyblog@gmail.com with your contact information so we can send you your prize!

*****************************************
You have until Wednesday, April 20th to complete your layout and link it to this post!


Thursday, April 7, 2011

Creating embellishments

The Bo Bunny DT were challenged to create their own embellishments. It's awesome to have ready made flowers, tags and swirls etc but it is always fun to create your own, especially if you don't have that one perfect embellishment that will just complete your layout or card.


Some time Today

by Kathleen Glossop


Kathleen created her own tag for this layout. She used the Timepiece wraps to make the tag! clever idea!
Here are some of the details up close.....

Supplies Used:

Timepiece Paper, Timepiece Alphas, chunky chips, Timepiece 12x12 chipboard, Timepiece Dimensional Stickers, Timepiece Wraps, Timepiece trinkets, Timepiece buttons.


In the Garden

By Michele Beck

Michele created her own flowers using Vicki B papers. So cute :0)

Supplies used:

Vicki B papers, Vicki B Stickers, Vicki B chipboard, Vicki B brads, Vicki B Wraps, Vicki B trinkets,

Vicki B jewels, Vicki B buttons, Vicki B noteworthy

Life is Fun

By Luzma Bruna

Luzma decided to create her own heart shaped embellies! Just love these!


Supplies used:

Ocean Dot, Mint Dot paper, Ad Lib paper, Ad Lib Combo sticker, Ad Lib chipboard, Ad Lib buttons, Ad Lib jewels, Ad Lib Wraps

Other:

Sizzix heart dies, EK circle punch, TE mist, DMC thread, MS punch, Sakura pen


A true friend is a priceless treasure

By Patti Milazzo


Patti created this gorgeous card and made her own flowers. She has included a short tutorial on how to make them. Thanks Patti!

Supplies used:

Gabrielle Papers, Gabrielle Chipboard, Gabrielle cutouts, Gabrielle card kit, Gabrielle true friend Stickers, Gabrielle jewels, Gabrielle wraps, Gabrielle brads, Gabrielle Dimensional stickers


Quick How To Tips:


I cut paper strips varying in width from 3/4" x 12" to 1 1/4" x 12" using a decorative edge trimmer or border punch. Then I scored between the decorative edge designs of the paper- no need to measure.


Once the strips are accordian folded attacg the ends with stong adhesive.


I find that the best way to anchor these accordian folded circles is with some hot glue applied to a punched circle, then form the pleated flower circle and press on top of the punched circle. Hold this in place for a few seconds until the glue is cool. With hot glue, you never have to worry about the pleated flower coming undone.


Hope you've enjoyed today's post :)

Wednesday, April 6, 2011

You are Cordially Invited!

Good morning and what a treat we have for you in store! Did you know that our new collections are just perfect for invitations? Well, they are, and our super awesome design team has put together the most impressive line-up of invites for you today. Let me warn you, this post is picture heavy, but I just couldn't resist showing off the details! ENJOY!!!

Birthday Invitation Purse by Irene


Supplies Used: Chiffon Dot, Shadow Dot, Timepiece 6X6 paper pad, and Timepiece Trinkets
Designer's Notes: The details of the invitation could be written on the card in the purse. This purse can also be used
for your invitation or putting your gifts in it.


Save the Date Invitation by Tara


Supplies Used: Gabrielle Cardstock Stickers, True Friends, Gabrielle Jewels, Gabrielle Wraps, Gabrielle Combo Stickers, Gabrielle Cut Outs, Gabrielle Elegance, Gabrielle Romance,Gabrielle Cameo, and Gabrielle Flight.

Tea Party Invitation by Jolanda


Supplies Used: Chiffon Flourish, Passion Fruit Stripe, Pink Punch Stripe, Vicki B Floweret, Vicki B Loverly, and Vicki B card kit.

Designer's Notes: The flowers are handmade. The cream flowers are punch out. There are 6 layers and did some curling. The other flower is made of pink felt. I cut 4 flowers and fold them in fourth and glue it on a chipboard circle.


Out of This World Invitation by Janis

Supplies Used: Blast Off! Collection: Papers (Stripe, Orbit, Cut Outs, Blast Off!), Buttercup Coordinating Dot, Noteworthy, Buttons, Layered Chipboard, Monkeyin' Around Cardstock Sticker.

Designer's Notes: The design of the card was inspired by Creative Scrappers Sketch #134.

Invitation by Christiane

Supplies Used: Timepiece Paper Pad and Timepiece Brads.

Birthday Blast! Invitation and Thank You Note by Patti


Supplies Used: Blast Off! Pattern Papers – Aliens, UFO, Stripe, Blast Off!, Arcade, Galaxy and Stellar, Blast Off! 12” Chipboard, Blast Off! Jewels, and Blast Off! Stamps

Designer's Notes:
-When you’re making multiple invitations, keep the design simple and use supplies that allow you to easily recreate your cards exactly or with a little variation. Many of the images used on the invitation and thank you note are cut from pattern paper. Adhesive foam is used to add dimension.
Get a head start on the Thank You notes by creating them along with the invites.
-Add a glass finish liquid to the spaceship windshields.
-Print out your invite and thank you information on plain white cardstock. Then accent the printed cardstock by stamping the Blast Off! images in silver ink and coloring portions of the images with a coordinated colored pen.
-Other: glitter glue, clear glass effects liquid, adhesive foam, silver ink, yellow stamping marker
Computer fonts: TBLcd font – free download from the internet: http://www.fonttrader.com/detailed~name~TBLcd~font~3728.htm


Invitation by Romy

Supplies: Vicki B. 6 x 6" Paper Pad, Vicki B. 12" Sticker, Vicky B. Jewels, Vicki B. Dimensional Stickers, Vicky B. Wrap.

Designer's Notes: I made this card for my grandparents, to invite them to go to a Dutch flower park with me. The Vicki B. collection has some very pretty flower embellishments and text stickers, which were simply perfect for this kind of an invitation.


Thanks so much for stopping by!!