Showing posts with label Double Dot. Show all posts

Saturday, April 11, 2020

Easter Gift with Angela


Hello BoBunny friends!
Angela here on the blog to show you a new project made with Garden Grove collection and some Double Dot papers but first of all, let me wish you a Happy and Peaceful Easter.

Garden_Grove_Angela_Apr11_01


During these tough days of social distancing, I had a lot of time to play and a lot to think. What I struggle the most is thinking to my old mom all alone in her house. At the moment, I don't know what will be the situation and if we will have the possibility to spend Easter together. For this reason I decided to make a little present to cheer her and her home up.


Garden_Grove_Angela_Apr11_02


I created a wreath made of simple DIY flowers and the phrase 'Happy Easter' in the center.
I started  choosing some pretty papers from Garden Grove collection as a base of the wreath. Particularly, I chose paper Spring that has tiny dots in yellow, pink and orange and I cut it in a big scalloped circle of 9 inch diameter.


Garden_Grove_Angela_Apr11_03


I cut a second circle of 7 inch out of vellum and centered it on top of the scalloped one. 
Following the combo of paper Spring, I picked some Double Dot papers in the same coordinated colors, to create the flowers. 


Garden_Grove_Angela_Apr11_04


Making this type of flowers is very simple. I cut a circle of about 5 inch diameter. With a pencil, I drew a spiral inside the circle, leaving about 1/4 inch between each line. I cut along the line with a pair of scissors and then, I rolled up, starting from the outside edge. Last, to secure the flower I used hot glue.


Garden_Grove_Angela_Apr11_05


The phrase Happy Easter is a combination of a chipboard and letters. Easter is from the Garden Grove chipboard stickers and Happy is made with gold foil foam stickers.


Garden_Grove_Angela_Apr11_06


Below the phrase, I added some Easter eggs and a super cute white Easter bunny. I finished embellishing with some colorful butterfly chipboards and a pair of wreath tails on the bottom of the wreath and voilĂ !

Garden_Grove_Angela_Apr11_07


Thank you so much for joining me today. I hope you enjoyed my project and feel inspired to create with the beautiful Garden Grove collection. I can't wait to see your projects!


BoBunny Supplies:Pattern Paper: Garden Grove Spring/ Postcard
Double Dots: Lace Mist/ Flamingo/ Maize/ Avocado, Damask Sunflower
Chipboard Stickers: Garden Grove
Thickers: Garden Grove

Other Supplies:
AC Stocky Thumb adhesives
WRMK Precision 5" scissors


Friday, November 29, 2019

DIY Recipe Book with BoBunny Papers

Hello BoBunny Friends, it's Elena here today!

 I hope you had a wonderful Thanksgiving Day with your family. So I thought it's time for celebrating the harvest too. The Cook Book is a good idea to collect all your favorite recipes.

Cook_Book_Time_and_Place_Elena_Nov29_1.JPG

I made a fabric cover that I decorated and sewed the elements from the Time and Place collection .

Cook_Book_Time_and_Place_Elena_Nov29_2.JPG

 It was easy to do and to stitch everything to the cover.

Cook_Book_Time_and_Place_Elena_Nov29_3.JPG

I also made a few dividers to separate the recipes and again, was very busy fussy cutting. 

Cook_Book_Time_and_Place_Elena_Nov29_4.JPG

 I combined only 3 papers sheets - February, April and November

Cook_Book_Time_and_Place_Elena_Nov29_5.JPG

For my background I used Double Dot papers.

Cook_Book_Time_and_Place_Elena_Nov29_6.JPG

But I also added a few scraps left the Christmas cards I made from December paper sheet.

Cook_Book_Time_and_Place_Elena_Nov29_7.JPG

The flowers and the berries are so wonderful to use for the cook book, of course!

Cook_Book_Time_and_Place_Elena_Nov29_8.JPG

Cook_Book_Time_and_Place_Elena_Nov29_9.JPG

Cook_Book_Time_and_Place_Elena_Nov29_10.JPG

I hope you enjoyed my project! Until next time!


BoBunny Supplies:
Patterned Papers: Time and Place/ February, April, November, Deecember.
Double Dot - Mint, Powder Blue.


Sunday, November 3, 2019

Gorgeous Fall Layout with Malin

Hi there!
Today I have a little fall layout to show you. We took down a bird nest in our garden and of course I had to take some pictures of it. It was a really big nest!

We did some trimming on the trees and bushes at the same time and it turned out so nice. But as you can guess the bird nest was a big one to transport away!

Unfortunately, the birds have started to build a new bird nest in front of the yard in another tree LOL We will have to deal with that in springtime!

But here are is the layout I made of it and I hope you like it!


I have been using:
Beautifully brisk collection paper pad
Double dot paper
White gesso
Stained textures stamp #10105762
chocolate jewels #10207764 
All caps does #12839017

Other:
Tim holz walnut stain distress inc.

Have a nice day!


Tuesday, October 29, 2019

Halloween Scrapbook Layout with Elisa

Hi there!!!

Elisa here for a creeeeeeepy project!!! Are you ready for Halloween???? I am!!!


Double dot cardstocks in neutral tones have been my favorite ally in creating this Layout!!! I've used four of them: 


Another important element has been the October paper in the "On this Day" collection!!! The Pumpkin and the zodiac signs came from that paper!


I die cut the Vintage dot cardstock with the flag die by the "Basic Frames" dies set.


The little violet dressed witch came with the October "On this day" collection cardstock too!


Other elements for this project are the flowers: the Natural Earth Dahlia colors are perfect because of their colors.


I printed the pictures on a Cream Puff Bazzill. Under it you can see the October 6x6 papers by the Banner Year pad. I glued on it a lot of "Halloween" letters, made with the Word Punch Board by We R Memory Keepers. Quite a long work, but I love the result so much!!!


The 31s in the backgrounds have been cut with the Triple Play Numbers die. 


The only bright element in the LO is the title: for the Hocus Pocus, I chose the Thickers by Harmony Collection. It reminds me of moonlight!


BoBunny Supplies:
12x12 October "In this day" cardstock
12x12 Decaf Vintage cardstock
12x12 Coffee Vintage cardstock
12x12 Licorice Damask cardstock
12x12 Decaf Double Dotcardstock
6x6 October "Banner Year" paper
Harmony Thicker
Natural Earth Dahlia
Triple Play Numbers Dies
Triple Play Alpha Dies
Basic Frames Dies

Other AC Supplies:
Bazzill Cream Puff
Word Punch Board We R Memory Keepers


Hope you enjoy this project!!!

But now, the real question:
Trick or Treat??

Ahahahahah


Tuesday, May 28, 2019

Celebrating Freedom Layout with Emmy

Hello BoBunny fans!

Emmy here today with my second post for May featuring the astonishing Celebrating Freedom collection from BoBunny's newest release.


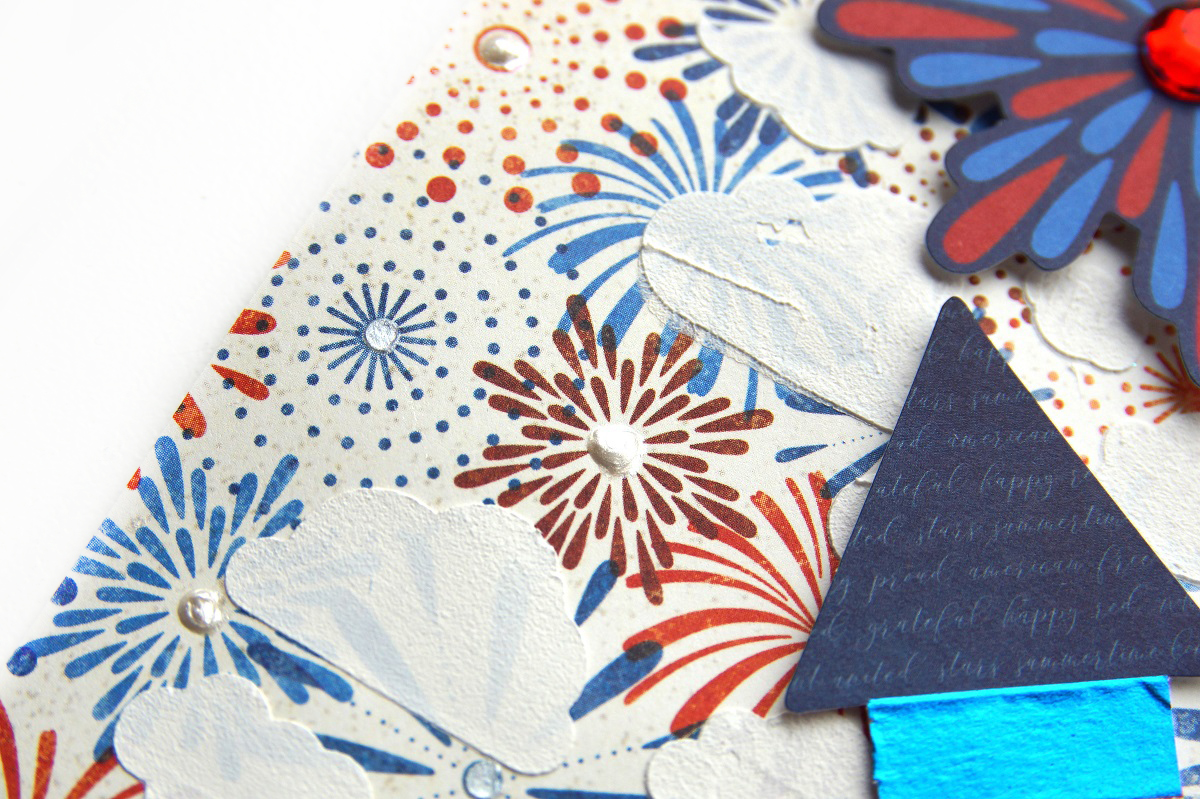
For my background I used two different pattern papers - Celebrating Freedom and Patriotic. Using a Stickable Stencil and Texture Paste I added white dimensional pattern onto the Celebrating Freedom pattern paper. Once the paste has dried, I added prealy accents using Pearlescents Sugar.


I cut off a 14 x 30.5 cm stripe from the Patriotic pattern paper. Using silver Foil accents I added the stars pattern to two of its corners. Then I distressed its edges and adhered it on top of the other pattern paper using mounting foam tape.


I layered my picture on a slightly larger panel pattern paper from the paper pad.


To decorate my page I used chipboard stickers, layered stickers and different pre-cut embellishments from the Noteworthy pack matching the collection.


To create the banner under my picture, I used pre-cut embellishments from the Noteworthy pack, stickers and red sparkling washi tape.


As a finishing touch I added different colored rhinestones and pearls, rhinestone swirls and a few of the amazing brads matching the collection.


I hope you enjoyed today's post! Come back soon for more inspirational projects from our design team!


BoBunny Supplies: 
12 x 12 Paper Pad: Celebrating Freedom
Pattern Paper:  Constitution, Liberty, Patriotic, Blessed, Freedom / Celebrating Freedom
Noteworthy: Celebrating Freedom
Sticker Sheet: Celebrating Freedom
Paper Pad: Celebrating Freedom
Chipboard Stickers: Celebrating Freedom
Layered Chipboard: Celebrating Freedom
Washi Tape: Celebrating Freedom
Double Dot Jewels: Ruby Red, Blue Hues
Double Dot Brads: Ruby Red
Stickable Stencil: Summertime
Foil Transfers: Accents Silver
Pearlescents: Sugar

Other: 
American Crafts Permanent Tape Runner and Refill
American Crafts Foam Dimen Dots
Vicki Boutin - Ink Pads - Blue
Texture Paste

Friday, May 10, 2019

Mother's Day Cards with Emmy

Hello BoBunny fans!

Emmy here today with my first post for May. Since Mother's Day is only a few days away, my post will be all about cards and mothers!


For today's post I decided to use my favourite collection from BoBunny's newest release - Celebrating Freedom!


For the card bases I used plain white cardstock. I cut off two 15 x 21 cm stripes and I folded them in two. The using different pattern papers I created the layers under my main design. Before adhering the layers with mounting tape, I inked their edges.


For my main design I used various chipboard stickers and pre cut images. I die cut the letters from pattern paper and lace cardstock and arranged them as shown.


As a finishing touch I added banners made out of washi tapes and different colored rhinestones.


I hope you enjoyed today's post!


BoBunny Supplies: 
12 x 12 Paper Pad: Celebrating Freedom
Pattern Paper:  Constitution, Liberty, Patriotic, Blessed / Celebrating Freedom
Noteworthy: Celebrating Freedom
Sticker Sheet: Celebrating Freedom
Paper Pad: Celebrating Freedom
Chipboard Stickers: Celebrating Freedom
Layered Chipboard: Celebrating Freedom
Washi Tape: Celebrating Freedom
Double Dot Jewels: Think Pink, Ruby Red
Craft Die: Darling Doily, Triple Play Alpha
Double Dot Lace Cardstock: Cranberry

Other: 
American Crafts Permanent Tape Runner and Refill
American Crafts Foam Dimen Dots
Vicki Boutin - Ink Pads - Blue
white cardstock