Showing posts with label Emilia van den Heuvel. Show all posts

Wednesday, May 6, 2020

Say I Love You Mom with DIY Cards

Hello BoBunny fans!

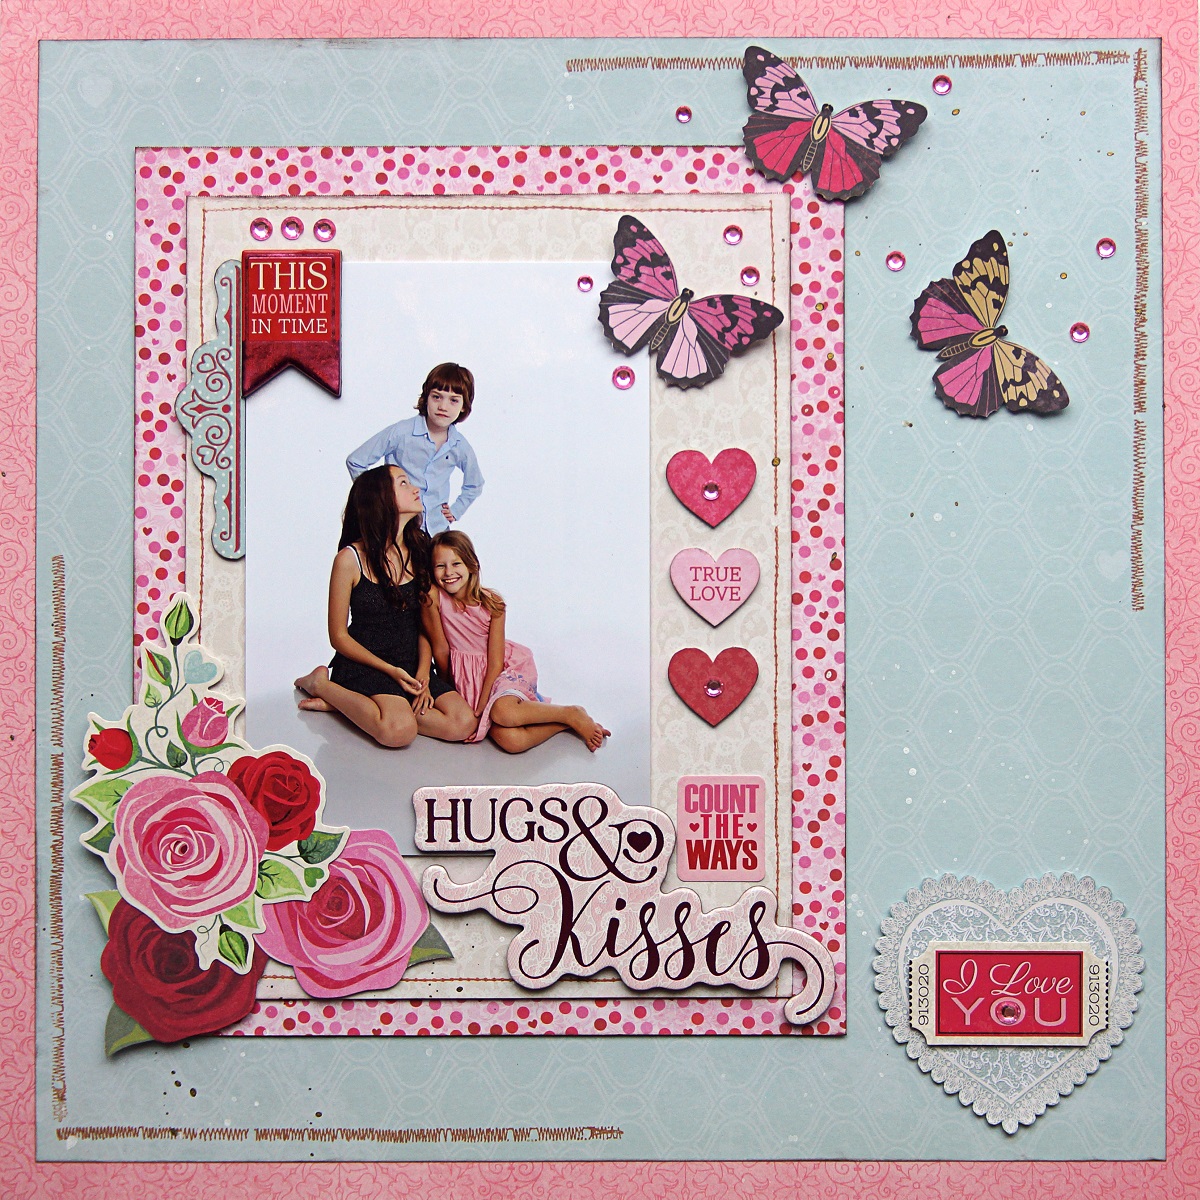
Emmy here today sharing my first project for May. Since Mother's Day is approaching this week is all about honoring all the mums out there. For my post I've decided to create cards using the amazing Count the Ways collection from BoBunny.


The bases for my cards I took from the Boxed Cards Set "Tuxedos & Tiaras". For the layers on top I used a smaller panel from white cardstock and an even smaller panel from pinkish pattern paper. I added extra pattern on the pink panel for my second card using clear stamp and brown ink. Then I inked their edges with brown ink and adhered them together using mounting foam tape. I added extra pattern on the pink panel for my second card using clear stamp and brown ink. 


Once all the layers were secured I started decorating my cards. I die cut and fussy cut different embellishments from pattern paper and I added chipboard stickers from the chipboard set matching the collection. 


For the word MOM I die cut the letter using pattern paper and BoBunny's Triple Play Alpha Die. I added also stripes of washi tape. 


As a final touch I added pink rhinestones and I splashed some white shimmering mist on top of all layers.


I hope I managed to inspire you today!

Come back soon for more inspirational projects from our design team!


BoBunny Supplies: 
12 x 12 Paper Pad: Count the Ways
Pattern Paper: Be Mine, Valentine, Red Roses, I Love You, Kisses / Count the Ways
6 x 8 Paper Pad: Count the Ways
Chipboard Stickers: Count the Ways
Double Dot Jewels: Think Pink
Craft Dies: Basic Frames Dies, Triple Play Alpha Dies, Ornate Heart Die
Clear Texture Stamps: Rustic Textures
Washi Tape: Garden Grove
Boxed Cards: Tuxedos & Tiaras

Other: 
American Crafts Permanent Tape Runner and Refill
American Crafts Foam Dimen Dots
Ink pad - brown
White Shimmering Mist
White cardstock

Thursday, March 26, 2020

Sweet Scrapbook Layout with Garden Grove

Hello BoBunny fans!

Emmy here today sharing a brand new layout I've created using the adorable Garden Grove collection from BoBunny's newest release. The soft colour palette and the cute images make this collection perfect for any occasion!


For my background I used the lce cardstock and pattern paper. I cut off 2 cm from two sides of the pattern paper, distressed its edges and adhered it on top of the cardstock as shown.

Once both papers were adhered, I stamped the fake stitches along the edges of the pattern paper and the distressed design in the middle of it. When the ink has dried I sprinkles shimmering mist on top. To add extra colour to my background I used washi tapes from the pack matching the collection.


I layered my picture on a slightly larger panel of cardstock from the 6x6" Paper pad and adhered it to the background using mounting foam tape. 

To decorate my layout I used fussy cut embellishments from different pattern papers, stamped butterflies and paper roses. 


I added layered chipboard images as well.


For my title I used a pink Thickers Alphabet from American Crafts.


As a final touch I added flourish jewels and rhinestones.


I hope I managed to inspire you today!

Have a wonderful creative week!


BoBunny Supplies: 
12 x 12 Paper Pad: Garden Grove
Pattern paper: Remember, Postcards, Happiness / Garden Grove
Washi Tape: Garden Grove
Layered Chipboard Stickers: Garden Grove
Brads: Garden Grove
Double Dot Jewels: Think Pink
Double Dot Flourish Jewels: Citrus
Double Dot Lace Cardstock: Avocado
Clear Stamps: Garden Grove, Stitches, Terrific Textures
6x6" Paper Pad: Natural Necessities

Other: 
American Crafts Permanent Tape Runner and Refill
American Crafts Foam Dimen Dots
American Crafts Thickers Alphabet - Escape to Paradise
Ink pad - brown
Vicki Boutin - Ink Pads Pink
Bronze and Pink Shimmering Mist
Paper Roses

Tuesday, March 10, 2020

Family Heirlooms Scrapbook Layout with Beige and Brown Color Scheme

Hello BoBunny fans!

Emmy here today sharing my first post for March using the Family Heirlooms collection from BoBunny. I used a black and white picture and a brownish-beige color palette for this layout.


For my background I used Double Dot cardstock, a patterned paper and a lot of different clear stamps. I cut off 2 cm from the pattern paper and distressed two of its edges. Then, using various clear stamps and brown ink pad, I added extra pattern to it. Once the ink has dried, I adhered it in the middle of the brown cardstock.


I layered my picture on a slightly larger panel of double dot cardstock from the 6x6" paper pad. Then I fussy cut my embellishments from different pattern papers and arranged them around my picture. I used foam dots to adhere them.


I also added chipboard stickers and layered chipboard stickers matching the collection.


To finish off my design I sprinkles shimmering mist on top of all layers and added brown pears, rhinestones and enamel dots.


I hope I managed to inspire you today!

Come back soon for more inspirational projects from our design team!


BoBunny Supplies: 
12 x 12 Paper Pad: Family Heirlooms
Pattern paper: Generations, Traditions, Ancestors, Trinkets, Documented / Family Heirlooms
Chipboard Stickers: Family Heirlooms
Self Adhesive Enamel Dots: Family Heirlooms
Washi Tape: Family Heirlooms
Layered Chipboard Stickers: Family Heirlooms
Double Dot Cardstock: Coffee Lace
6x6" Double Dot Cardstock Pads: Natural Necessities
Double Dot Jewels: Mocha
Clear Stamps: Stitches,  Family Heirlooms, Terrific Textures, Newsprint

Other: 
American Crafts Permanent Tape Runner and Refill
American Crafts Foam Dimen Dots
Ink pad - brown
Bronze Shimmering Mist
White Shimmering Mist

Sunday, February 9, 2020

Count The Ways Layout with Emmy

Hello BoBunny fans!

Emmy here today sharing another project I created for BoBunny's blog. To design this layout I used one of BoBunny's newest collections - Count the Ways. I just love the colour palette and all the cute embellishments of this paper line.


I cut off 0.5 cm from each side of the pattern paper, inked its edges and adhered it on top of the pink cardstock. Using clear stamps set and brown ink I created the 'frame' around my design. Then I splashed some shimmering mist on top.


I layered my picture on a sheet of pattern paper from the 6 x 8" paper pad and a slightly larger panel of 12" pattern paper. I adhered all the layers using mounting foam tape.

To decorate my page I used fussy cut embellishments from pattern paper, chipboard and cardboard stickers.


For my title I used a chipboard phrase sticker.


As a final touch I added pink rhinestones.


I hope I managed to inspire you today!

Have a great week!


BoBunny Supplies: 
12 x 12 Paper Pad: Count the Ways
Pattern Paper: Be Mine, Forever, Hearts, Count the Ways / Count the Ways
6 x 8 Paper Pad: Count the Ways
Chipboard Stickers: Count the Ways
Cardstock Stickers: Count the Ways
Double Dot Cardstock: Flamingo lace
Double Dot Jewels: Think Pink
Clear Stamps: Stitches

Other: 
American Crafts Permanent Tape Runner and Refill
American Crafts Foam Dimen Dots
Ink pad - brown
White Shimmering Mist
Bronze Shimmering Mist

Tuesday, December 10, 2019

Christmas Cards with BoBunny Time and Place

Hello BoBunny fans!

Emmy here today sharing my first post for December. With Christmas just a few weeks away, I thought I should try and finish my Christmas cards on time this year. And what a better collection to design Christmas (or any type) cards with than "Time and Place" from BoBunny.


To create the bases for the cards I used white cardstock. I used decorative edge punch to shape the long edge of one of the cards and a corner punch - to shape the other. 

To create the layers on top, I used pattern paper from the Time and Place collection and Double Dot Damask cardstock. I inked their edges with a brown ink pad and then I distressed them using a paper distresser. 


I added a silver dimensional layer on the horizontal cards using stenciling paste and a stickable stencil. 


To create the design on the cards I used different images from 12" pattern papers and pre-cut embellishments from the Noteworthy pack. I've adhered everything using foam dimensional dots. 


As a final touch I added rhinestones and I sprinkled white shimmering mist on top of all layers.

I hope I managed to inspire you today!

Have a great week!


BoBunny Supplies: 
12 x 12 Paper Pad: Time and Place
Pattern Paper: July, November, December / Time and Place
Noteworthy: Time and Place
Double Dot Damask Cardstock: Wild Berry, Kiwi  
Double Dot Jewels: Ruby Red
Stickable Stencils: Oh My Stars


Other: 
American Crafts Permanent Tape Runner and Refill
American Crafts Foam Dimen Dots
Ink pad - brown
White cardstock
Decorative edge punch
Corner punch
White Shimmering Mist
Silver Stencil Paste
Velvet flowers

Tuesday, November 26, 2019

Banner Year Autumn Layout

Hello BoBunny fans!

Emmy here today sharing another layout I've created using the amazing Banner Year collection from BoBunny! And there is also a video tutorial at the end of this post.


For my background I used French Vanilla cardstock and a pattern paper from the Banner Year collection. I cut off about 0.5 cm from each side, distressed the edges with paper distressing tool and adhered it on top of the pattern paper. 

Then using a stickable stencil and a glitter paste, I created the blue stars pattern. Once the paste has dried I stamped the brown pattern using a brown ink pad and clear stamps. 
  

I layered my picture on different color, shape and size stripes I cut from pattern papers. I adhered them using mounting foam tape.

To decorate my layout I used pre cut images from the Noteworthy pack and stickers matching the collection.


For the flower corner I used paper blossoms and rhinestones flourishes.


To create my title I used letters from Thickers Alphabet and a phrase from the Noteworthy pack. I connected the two words with a hand written "with". 


I hope I managed to inspire you today!

Have a great week!


BoBunny Supplies: 
12 x 12 Paper Pad: Banner Year
Noteworthy: Banner Year
Combo stickers: Banner Year
Layered Chipboard Stickers: Banner Year
Thickers Alphabet: Banner Year, Land of Wonder
Double Dot Flourish Jewels: Aqua
Double Dot Jewels: Aqua, Ruby Red
Stickable Stencils: Oh My Stars
Clear Stamps: Rustic Textures, Steampunk
Glitter Paste: Caribbean
Washi Tape: Time & Place
Blossoms: Natural Earth Zinnia
Double Dot Lace Cardstock: French Vanilla

Other: 
American Crafts Permanent Tape Runner and Refill
American Crafts Foam Dimen Dots
Ink pad - brown