Welcome to the blog today. It's Katherine here and I've made a page using Stay Awhile and some quilt like squares, showing of both sides of the papers, revesing the circles into kind of patchwork pattern.
It is sometimes hard to choose which side of the paper I like best, so this technique works really well for when you want to show both sides. I cut out lots of 3" circles and then scored the edges and folded them in so the circles became squares and you get to see both sides of the papers! You can watch what I do in the video below.
To further decorate some of the squares I added some of the intricately cut wooden hearts.
I used the Double Dot Damask paper French Vanilla as the base - it makes a beautiful vintage background.
I layered up some of the stickers for the title area and used the Let There Be Light stamps for the title.
How about a Tea Party today? This isn't your typical sit down for tea, but a fun papercrafting project with a "tea party" theme! I'll share with you today with some pieces for a tea party using Stay Awhile collection.
The icons and elements in this collection along with the earthy and rich color combination brings to mind an almost tangible feeling of warmth and coziness. I thought this would be just right for this idea inviting us to a delicious and comforting "tea party".
First of all, I used my cutting machine to cut out the template on the cardstock:
Then, I assembled the pieces with everything put together, folding, gluing as I went on. Once you find a template like this you want to cut on your own cutting machine, it's just a matter of picking the prettiest paper to cover it.
Finally, I covered the cardstock using patterned papers, using the original template as a pattern to cut the pieces for each section of the teapots.
And to complete, I've created a cup, saucer and spoon:
Happy Tea Party!
Thanks for stopping in for a taste of creativity, BoBunny style today. Hope to see you here aagain tomorrow!
I used to cook a lot in the past, but now I prefer to create more than spending this time at the kitchen. However I always like making cookbook dividers and recipe notes for my friends, so I get to combine my hobbies!
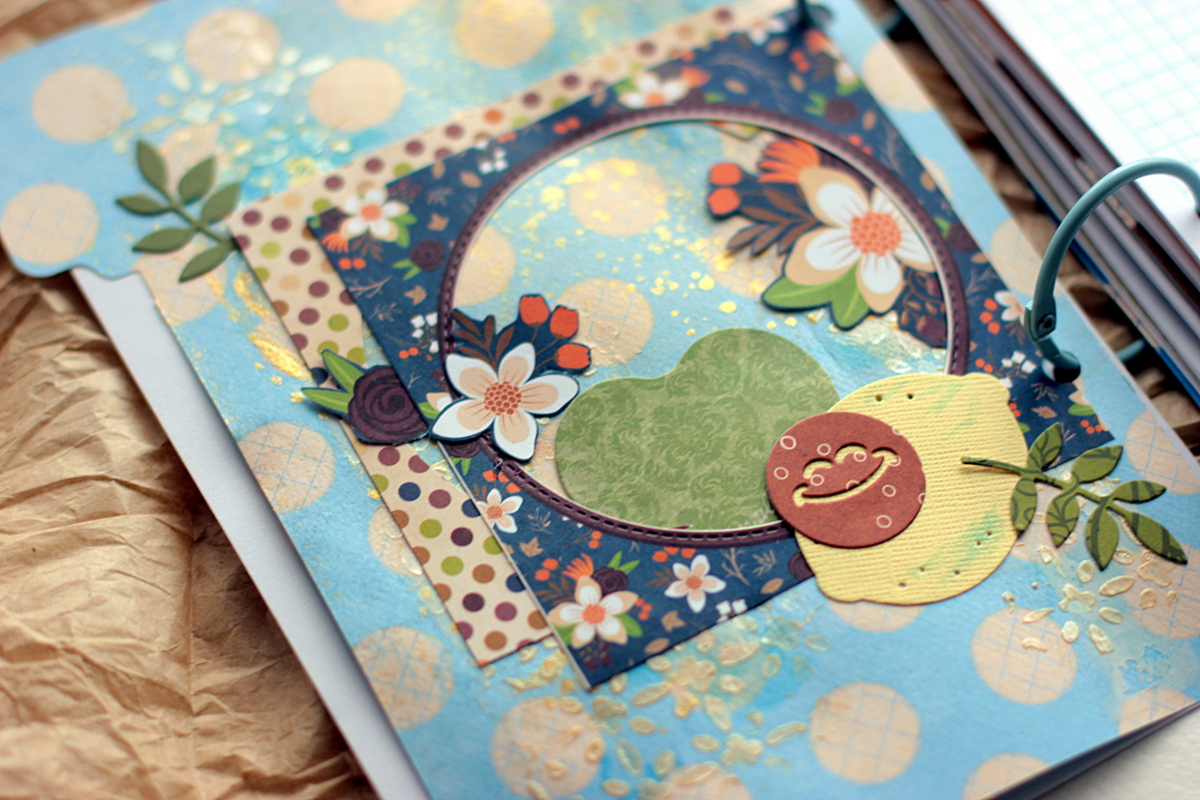
Today, since I have a go-to Desserts Recipe book for all my favorite sweet recipes, I've added a few dividers to share that I've made for just this purpose.
For my background I used the new Double Dot Damask papers. It was so difficult to choose only one color from the range, but since I wanted to make several dividers , it was a good opportunity to use several at once.
For my embellishments and paper layers I used a lot of fussy cutting from the Stay Awhile papers. There are so many cute houses and flowers there to cut out, and lend itself nicely to the homey feel of the Stay Awhile paper collection.
However for my pages I made die cutting too , and used a few BoBunny dies, this beautiful Mandala Die that I topped with Emoji Die cut - just for a touch of fun.
Also I wanted to add some mixed media, so I primed my background with white gesso, then I applied the Stencil Texture Paste using Starling Stickable Stencil.
and misted with Gold Glimmer Spray and added the splatters of Frost Glimmer Spray with a brush.
I used the both sides of the Double Dot Damask paper. As you can see, one side is a classic subtle damask pattern, and the flip side has a medium scale, layered and antiqued dot patteen, so it was fun to mix them.
I wanted to maintain the desserts theme of my recipe book, so I played mostly with cupcakes and coffee dies. I made a few cupcakes die cuts using Cupcake Dies.
I like the color palette of Stay Awhile collection, it can be used for many occasions, but it really reminds me something cozy and warm, something about the kitchen
After all my dividers have been done, I added the coloring with my brush and the sprays, just to add some accents
I like how it looks on the Double Dot Damask papers
Not only cakes and coffee makes me feel like Sweet Tooth, an ice cream , this what all the kids adore.
I've added the ice cream die cuts that I made using Summer Picnic Dies
You can check my video if you are interested how I created one of my pages:
Welcome to my new BoBunny craft post. It's Irit here today with my new BoBunny inspiration.
Today I am going to share a card and a tag made with a new, just released collection named Stay Awhile. This collection is a bit wintery and cozy, but yet bright and shiny and is perfect for anything home connected (and coffee themed too!). It is trendy, yet classic as you will see as we go along. I made a card and a tag that show both greens and blue colors of the collection. I decided not to use mixed media techniques, but instead a simple classic, cardmaking style for all craft levels.
As you can see the card was made mostly in green and brown colors and the tag was mostly made in blues.
Actually almost each and every cardstock piece of this collection has all colors and you can mix and match them all together.
So here is the tag alone:
I added a few layers made of BoBunny dies cut from different cardstocks. The main embellishment cluster is made of hand cut cardstock flowers and one single large flower. The chipboard heart was painted with BoBunny Frost glimmer spray over the bare chipboard. A few spray drops were also added over the tag.
Everything else is just hand cut cardstock pieces and a lot of Combo stickers from this collection.
And here is a card:
It's made in the same style with one single die cut frame, a lot of hand cut flowers and quite a lot of Combo stickers. I made the banner with layers by adding one flag over another with 3d foam glue.
One single wood heart was also added to this card as it actually is Home Love card.
You can also see the Coffee to go cup here- it's just a part of sticker image, but fits the cozy and warm home card as well.
I hope that you like my card and tag and see you soon with new BoBunny collections!