Showing posts with label Washi Tape. Show all posts

Thursday, February 27, 2020

Family Stories Layout with Family Heirlooms Emmy

Hello BoBunny fans!

Emmy here today sharing a brand new layout I've created using the amazing Family Heirlooms collection from BoBunny. For this layout I decided to use a picture of my grandfather. He was always there for me when I was growing up and I miss him every day.


For my background I used two pattern papers. I cut off 1 cm from each side of the bluish paper. Then using a stickable stencil and texture paste I created the white dimensional pattern. Once the paste has dried, I sprinkled glimmering mist on top. Then, using a clear stamp and brown ink, I stamped the 'fake' stitches in the corners. Finally, I ruffles the edges using a paper distresser and adhered the altered pattern paper on top of the dark brown one.


To create my design I used washi tape and tailor-made embellishments from the pattern papers.


I cut my title from one of the Trinkets pattern paper. I inked its edges with brown ink and then I adhered it to the background using mounting foam tape.


I also added chipboard stickers and layered chipboard stickers to my page.


As a final touch I added rhinestones and enamel dots.


I hope I managed to inspire you today!

Have a great week!


BoBunny Supplies: 
12 x 12 Paper Pad: Family Heirlooms
Pattern paper: Generations, Traditions, Ancestors, Trinkets, Documented / Family Heirlooms
Chipboard Stickers: Family Heirlooms
Self Adhesive Enamel Dots: Family Heirlooms
Washi Tape: Family Heirlooms
Collection Brads: Family Heirlooms
Layered Chipboard Stickers: Family Heirlooms
Double Dot Jewels: Citrus
Stickable Stencils: Lots of Love
Clear Stamps: Stitches,  Family Heirlooms

Other: 
American Crafts Permanent Tape Runner and Refill
American Crafts Foam Dimen Dots
American Crafts Thickers: Count the Ways
Ink pad - brown
Bronze Shimmering Mist
Texture Paste

Tuesday, August 27, 2019

Washi Tape Birthday Card with Denise

Hello BoBunny Fans

It's Denise here today, to show you a creative way to use washi tape. I used washi a little differently, to create some interesting design elements on a Birthday card.

Celebrating Freedom_Birthday Card_Denise_27 Aug 01

Here are 2 close-up's of how I used the washi to create the circle elements for this card.

Celebrating Freedom_Birthday Card_Denise_27 Aug 02

Celebrating Freedom_Birthday Card_Denise_27 Aug 03

I also created a video, to show you this creative process and how I created those design elements.


There are so many ways that one can use washi tape and this is just one example.

I hope you were inspired and will give this a try.

Thanks so much for stopping by the BoBunny blog today and we hope to see you back tomorrow.
Have a fabulous day!
Denise x


BoBunny Supplies:
Patterned Paper: Pinwheels/ Celebrating Freedom
Noteworthy: Celebrating Freedom
Chipboard Stickers: Celebrating Freedom
Washi Tape: Celebrating Freedom

Friday, August 23, 2019

Washi Tape Cards with Elena

Hello BoBunny Friends, it's Elena's turn to bring you some ideas on how to use washi tape for your projects.


Well, I have started using it in my projects just recently and I like the possibilities it provides.


My favorite one is to add the details with them on the cards or tags.

For my cards I used just one paper sheet from Boulevard collection, a few tickers and washi tapes only.


The simplest way is just to add the stripe of it  and you can notice it alters the card differently.


You can make the banners, just playing with the size of them.


After you have organised the main parts of your card, just add the thin stripes around.


Gold, Silver or Glitter always look great for this purpose.


You can notice how the full look is changing.


Playing with the thin. medium and large sizes you can get the variety for changing.


I've added the jewels to make the focus on the strips.


BoBunny Products used:
Patterned Paper: Boulevard/ De Paris
Stickers: Boulevard
Washi Tape: Boulevard
Noteworthy: Boulevard
Jewels: Ruby Red, Tuxedo

Tuesday, May 28, 2019

Celebrating Freedom Layout with Emmy

Hello BoBunny fans!

Emmy here today with my second post for May featuring the astonishing Celebrating Freedom collection from BoBunny's newest release.


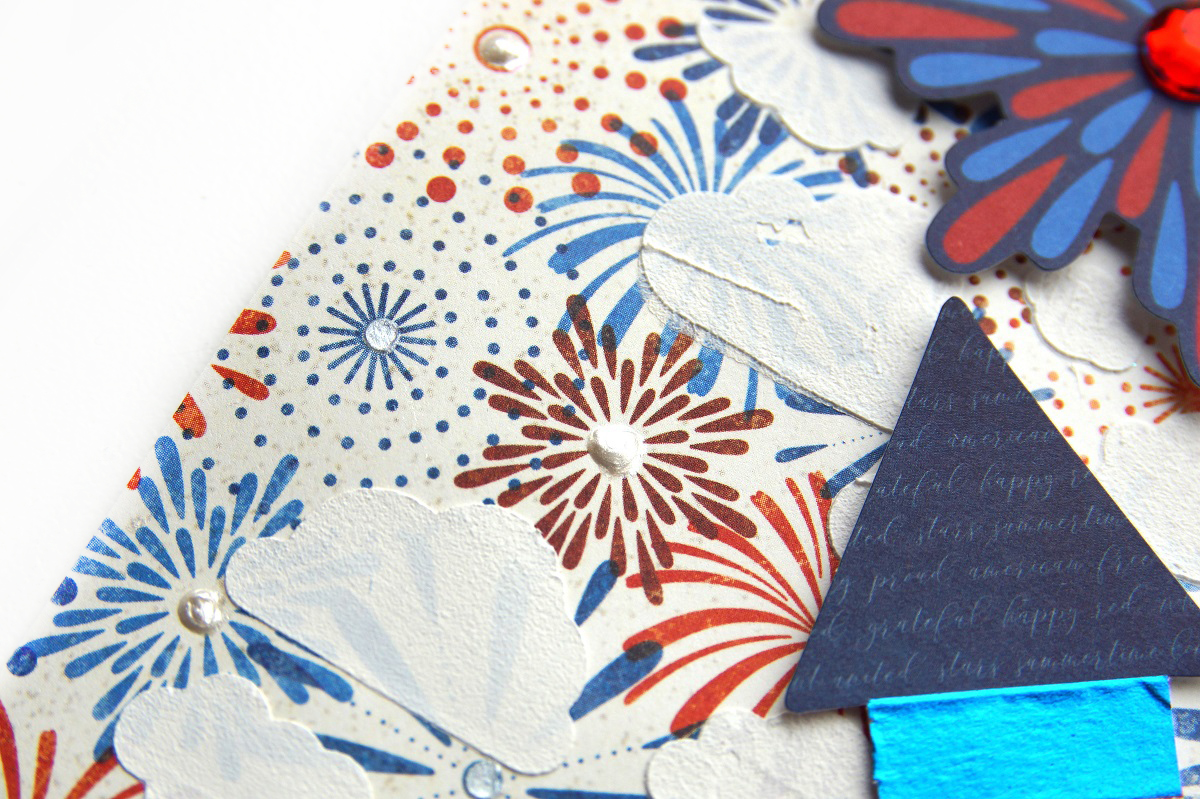
For my background I used two different pattern papers - Celebrating Freedom and Patriotic. Using a Stickable Stencil and Texture Paste I added white dimensional pattern onto the Celebrating Freedom pattern paper. Once the paste has dried, I added prealy accents using Pearlescents Sugar.


I cut off a 14 x 30.5 cm stripe from the Patriotic pattern paper. Using silver Foil accents I added the stars pattern to two of its corners. Then I distressed its edges and adhered it on top of the other pattern paper using mounting foam tape.


I layered my picture on a slightly larger panel pattern paper from the paper pad.


To decorate my page I used chipboard stickers, layered stickers and different pre-cut embellishments from the Noteworthy pack matching the collection.


To create the banner under my picture, I used pre-cut embellishments from the Noteworthy pack, stickers and red sparkling washi tape.


As a finishing touch I added different colored rhinestones and pearls, rhinestone swirls and a few of the amazing brads matching the collection.


I hope you enjoyed today's post! Come back soon for more inspirational projects from our design team!


BoBunny Supplies: 
12 x 12 Paper Pad: Celebrating Freedom
Pattern Paper:  Constitution, Liberty, Patriotic, Blessed, Freedom / Celebrating Freedom
Noteworthy: Celebrating Freedom
Sticker Sheet: Celebrating Freedom
Paper Pad: Celebrating Freedom
Chipboard Stickers: Celebrating Freedom
Layered Chipboard: Celebrating Freedom
Washi Tape: Celebrating Freedom
Double Dot Jewels: Ruby Red, Blue Hues
Double Dot Brads: Ruby Red
Stickable Stencil: Summertime
Foil Transfers: Accents Silver
Pearlescents: Sugar

Other: 
American Crafts Permanent Tape Runner and Refill
American Crafts Foam Dimen Dots
Vicki Boutin - Ink Pads - Blue
Texture Paste

Tuesday, August 29, 2017

Garden Party-Lovely Layout with Rhonda

Garden Party Scrapbook Page designed by Rhonda Van Ginkel


Garden Party Scrapbook Page featuring Mixed Media for BoBunny designed by Rhonda Van Ginkel

Greetings to you and welcome to the blog! It's Rhonda here today to share with you a masculine take on the Garden Party collection.  I had some Spring photos of the kids from school that I had not yet scrapbooked and the colors in the photos were perfect for this collection!


Garden Party Scrapbook Page featuring Mixed Media for BoBunny designed by Rhonda Van Ginkel

I cut several elements here and layered them in a collage. For the top of the page, I cut a 3/4 inch strip, then added our thin black washi tape to it for definition.

Garden Party Scrapbook Page featuring Mixed Media for BoBunny designed by Rhonda Van Ginkel

The majority of embellishments are cut with scissors and only a few leaves and the wheel under the jars are dies. A bit of stamping and Glimmer Spray splatters add some character.


Garden Party Scrapbook Page featuring Mixed Media for BoBunny designed by Rhonda Van Ginkel

A few more details, love the texture stamps that we have, they are so great for adding that extra little bit of fun!


I used some of the Silver Foil Transfers on the page and this images shows them off so nicely. The sweet little butterfly found a place on one of the jars and I added a few random stars to coordinate with the Silver Glitter Paste and Oh My Stars Stickable Stencil in the upper corner.


BoBunny Supplies:

Patterned Paper: Love Story, Lush, Celebrate, Elegant, Enchanted, Fragrant and Serenity / Garden Party

Glitter Paste: Silver

Ephemera Pack: Garden Party

Laser Cut Chipboard: Foliage

Dies: Picture This Die and Lovely Leaf Dies

Stamps: Stained Textures, It Is Written and Distressed Textures

Washi Tape: Black and White Patterned Washi Tape

Glimmer Spray: Bronze, Frost, Gold and Sugar

Stickable Stencil: Oh My Stars

Silver Foil Transfers: Accents


Tuesday, August 16, 2016

Bella Rosa Mini & Technique Tuesday!


Hello everyone! Welcome to the blog today! We have a fun and gorgeous project for you today featuring the Bella Rosa collection!


 Who doesn't love a little mini? This one is perfect to capture all your memories or even to give as a great gift. 
 The new Selfie die was the perfect way to add a sentiment!


 Oh washi tape! How we love thee! Today for Technique Tuesday we thought Washi tape would be a fun and easy technique. It has so many uses! Above, you can see it's both decorative and an adhesive holding the dies in place.


Here, the Washi tape has been used to add a special little pop to each of the pages!


 Love the way the new Selfie dies add a personal touch!


 Plenty of space to add journaling or pictures in this mini album!


 Maybe even a gift card or two for that special someone? Yes please!


This fun and gorgeous mini make it easy to keep all your treasures and stories tucked safe inside. 


 Or, create a special gift for some one!


Finish it off with a little washi tape for good measure and you have one beautiful Bella Rosa mini!

BoBunny Supplies:
Bella Rosa Rustic
Bella Rosa Athena
Bella Rosa Simplicity
Bella Rosa Amore
Bella Rosa Whisper
Cranberry Dot
Tangerine Dot
Bella Rosa Noteworthy
Picture This Die
Selfie Die
Gold Foil Chevron Washi
Gold Foil Dot Washi