Showing posts with label Design. Show all posts

Tuesday, November 19, 2019

Gratitude Layout with Angela

Hi everyone!
Angela here with you today sharing my latest layout featuring new Time & Place BoBunny collection. I love it! It has so many beautiful things to play with.


Time&Place_Layout_Angela_Nov19_02


It's Thanksgiving theme on the blog this week. While we don't have Thanksgiving day in Italy, I certainly have many things to be grateful for.  One and the most important to me is my family. So my today layout is dedicate to the three men that hold my heart.


Time&Place_Layout_Angela_Nov19_03


To create the layout I fussy cut all the card calendar that are on the patterned papers. Then I arranged them to create a circle. I placed the arranged calendars the back of November Time & Place paper and glued them on one side only. 


Time&Place_Layout_Angela_Nov19_04


Then, I put a piece of foam adhesive on the opposite side of the cards so to have a raised up corner.  The result is a fun fan look.


Time&Place_Layout_Angela_Nov19_05


I shortened of about 1 inch each side of the background paper and created a frame using other two papers from the collection,  February and August Time & Place. 


Time&Place_Layout_Angela_Nov19_06


I decorated the page choosing carefully pieces that matched the colors of the photo. I found a gorgeous burgundi branch of roses and this cute dragonfly that I adore.


Time&Place_Layout_Angela_Nov19_07


I also added teeny details like enamel dots, brads and layered chipboard stickers here and there.


Time&Place_Layout_Angela_Nov19_08


For the title I used the alphabet stickers that comes with the collection. It has pretty multicolor letters but unfortunately they get lost on the busy background. So I decided to color half of each letter using gold glitter paste.


Time&Place_Layout_Angela_Nov19_09


VoilĂ  the result! I hope you like it as much as I do.


Time&Place_Layout_Angela_Nov19_10


Thank you so much for stopping by today. I can't wait to see what you'll create with beautiful Time & Place collection.


BoBunny Supplies 
Patterned Paper: Time & Place January/ February/ March/ April/ May/ June/ July/ August/ September
October/ November/ December
Noteworthy: Time & Place
Layered Chipboard Stickers: Time & Place
Alpha Thickers: Time & Place
Brads: Time & Place 
Enamel Dots: Time & Place
Glitter Paste: Gold
Glimmer Spray: Gold

Monday, October 21, 2019

DIY Halloween Tags with Denise

Hello BoBunny Fans

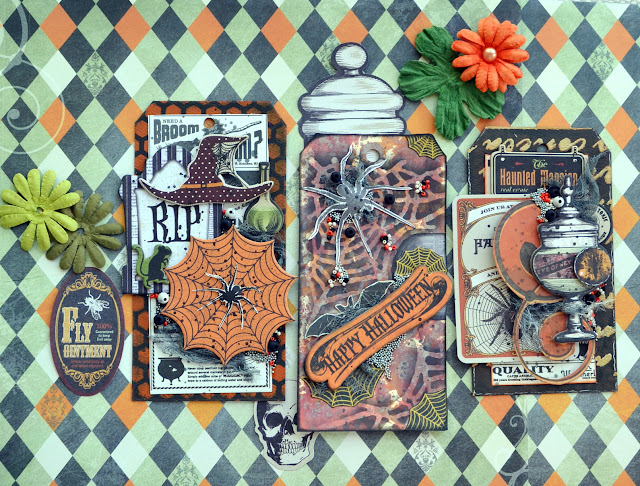
It's Denise here and today I want to share some really fun tags with you for Halloween.
I took a walk back in time and used the Wonderfully Wicked and Fright Delight collections.

Wonderfully Wicked & Fright Delight_Halloween Tags_Denise 21 Oct 01

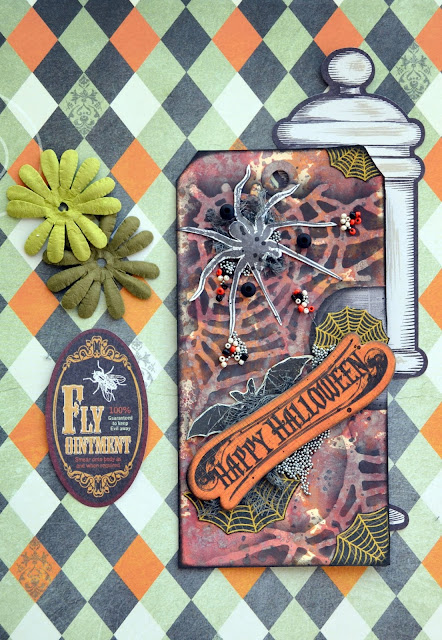
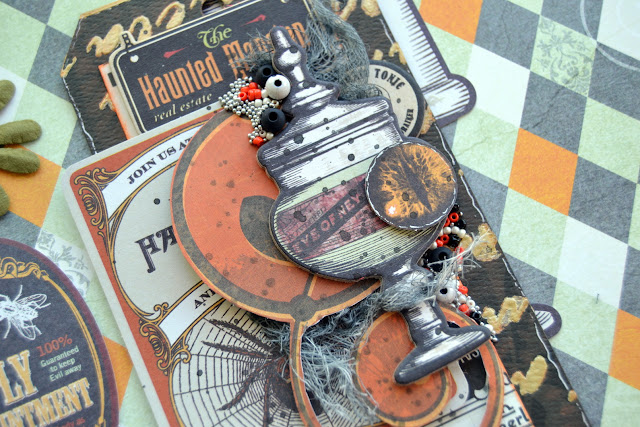
Here is a look at the first tag. I used an acrylic paint and stencil to create the background and then layered up papers and chipboard pieces, along with gauze and beads.

Wonderfully Wicked & Fright Delight_Halloween Tags_Denise 21 Oct 02

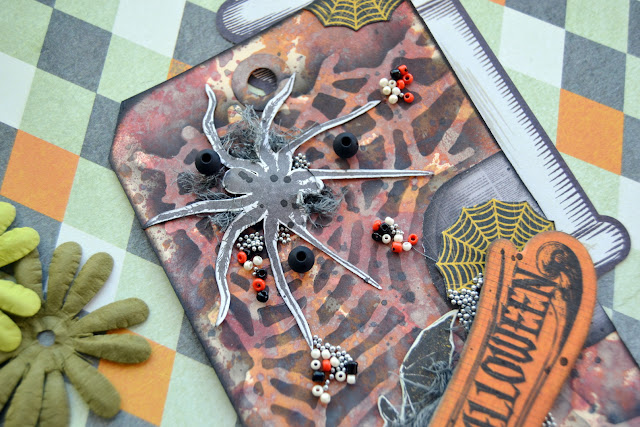
Wonderfully Wicked & Fright Delight_Halloween Tags_Denise 21 Oct 03

On the second tag I did some distress oxide inking and water effects for the base and then stencilled over that. I then fussy cut some bits and added some chipboard pieces, beads and gauze.

Wonderfully Wicked & Fright Delight_Halloween Tags_Denise 21 Oct 04

Wonderfully Wicked & Fright Delight_Halloween Tags_Denise 21 Oct 05

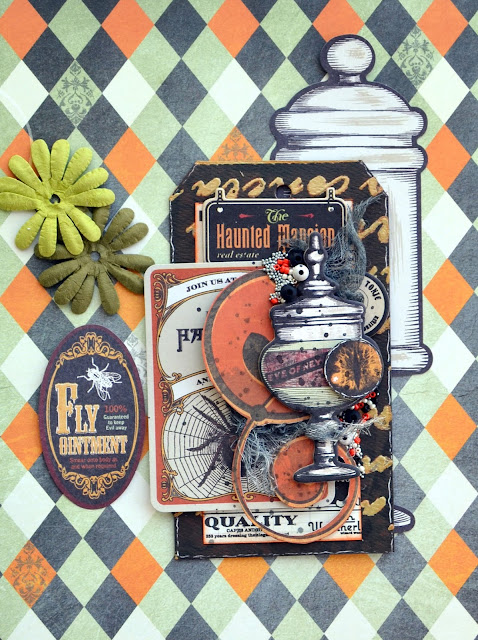
For the last tag I also stencilled on the background with paste and a stencil and then layered up various things, along with the beads and gauze for texture.

Wonderfully Wicked & Fright Delight_Halloween Tags_Denise 21 Oct 06

Wonderfully Wicked & Fright Delight_Halloween Tags_Denise 21 Oct 07

I really had so much fun creating these scary and spidery tags and love the end result.

One can certainly still use older collections and still make beautiful projects and mixing and matching these collections was easy and fun.

Thanks for stopping by the BoBunny blog today! We really look forward to seeing you back tomorrow.

Have a super day!
Denise x


BoBunny Supplies:
Patterned Paper: Wonderfully Wicked, The Daily Curse, Creepy/ Wonderfully Wicked
Cardstock: Licorice Flourish
Chipboard Stickers: Wonderfully Wicked & Fright Delight
Noteworthy: Wonderfully Wicked & Fright Delight
Stencils: Brocade

Friday, October 11, 2019

BoBunny DIY Phrase Cards with Elena

Hello BoBunny Friends, Elena is here to show you some inspiration with the Boxed cards


I love creating cards and to fill them with the details. The boxed cards have ready to use background and all you need is to add the embellishments, stamping or something that you like.


Actually I do not use often alphas and letters in my projects, so this time I decided to make a try.


I combined using the punch board to create my alphas as well as the dies.
I started with die cutting from the card the word - Happy and wanted to add the words as - Birthday or something like that , but for this particular card I played mostly with the silhouette.


Then I added the silhouette on the inside part of the same word and the result is just great


For my 2 next cards I used the punch board and Lace Dot and Polka Dot papers


I also added a few embellishments from Noteworthy and Layered chipboard


and finished everything with the Jewels.


BoBunny Products used:

Boxed Cards
Patterned Papers: Double Dot/ Island Mist Lace, Dusty Rose Damask, Sugar Chevron, Aquamarine Double Dot
Noteworthy and Layered Chipboard - Boulevard
Dies: Triple Play Alpha, All Caps
Jewels: Double Dot Aqua, Think Pink

American Crafts
WRMK Mini Alphabet Punch Board
Sticky Thumb Foam Pads

Thursday, October 3, 2019

Time & Place by BoBunny


Tuesday, September 24, 2019

Fall Stamped Cards with Elena

Hello BoBunny Fans, the Fall is officially here but for me it is the time to enjoy the bold colors of the flowers in the Garden. That is why I decided to create Roses Cards 


I stamped the images of Roses on the Cream cardstock using Rose Garden Stamp. Then I colored the images with the Copics and cut them out. But some of the images I stamped on the Double Dot cardstock and heat embossed with the golden powder.


Some of the images I stamped on the background, and the other part I cut out and mounted on each other creating a flower cluster.


For my background I used Peaches & Cream and  Sunflower Double Dot Cardstock, the colors that are great for the early Fall.


To create the sentiment I heat embossed the quote from Gratitude Stamp Set.


And embellished my cards with the jewels.


The are great as they have different size and colors.


BoBunny Supplies:
Double Dot Cardstock: Sunflower, Peaches & cream
Stamps: Rose Garden, Gratitude
Jewels: Citrus, Ruby Red

American Crafts:
White Cardstock
Sticky Thumb


Wednesday, September 18, 2019

How to Make Handmade Flowers with Denise

Hello BoBunny Fans

It's Denise here today to share how I make handmade flowers, using BoBunny cardstock. 

I created a Birthday card and used the flowers that I had handmade.

Boulevrad_Birthday Card_Denise_18 Sep 01

Here's a closer look at those handmade flowers.

Boulevrad_Birthday Card_Denise_18 Sep 02

The great thing about handmade flowers is that you can choose the shape, design and color to perfectly match any project.

I created a video of the process and I hope that you will see that it's really quite easy.


Thanks so much for stopping by the BoBunny blog today and we really hope to see you back for the next project. 

Have a marvelous day!


BoBunny Supplies:
Patterned Paper: De Belleville, Boulevard/ Boulevard
Cardstock: Blueberry VintageNoteworthy: Boulevard
Boxed Cards: Boulevard

Friday, August 23, 2019

Washi Tape Cards with Elena

Hello BoBunny Friends, it's Elena's turn to bring you some ideas on how to use washi tape for your projects.


Well, I have started using it in my projects just recently and I like the possibilities it provides.


My favorite one is to add the details with them on the cards or tags.

For my cards I used just one paper sheet from Boulevard collection, a few tickers and washi tapes only.


The simplest way is just to add the stripe of it  and you can notice it alters the card differently.


You can make the banners, just playing with the size of them.


After you have organised the main parts of your card, just add the thin stripes around.


Gold, Silver or Glitter always look great for this purpose.


You can notice how the full look is changing.


Playing with the thin. medium and large sizes you can get the variety for changing.


I've added the jewels to make the focus on the strips.


BoBunny Products used:
Patterned Paper: Boulevard/ De Paris
Stickers: Boulevard
Washi Tape: Boulevard
Noteworthy: Boulevard
Jewels: Ruby Red, Tuxedo