Congrats congrats!
It's Graduation time!
Time to move forward....to matriculate!
Preschool, Kindergarten, Middle School, High School, College and beyond! It's the time of year for graduation ceremonies and parties to celebrate achievements!
And with parties and celebrations that means a card is needed! We've just just the solution with a variety of card ideas for the graduate!


Journey
Designer: Rita Shimniok
Mama-Razzi Papers - Dot, Word, Slides, Shutter, Stripe; Combo Sticker
Roughin' It One with Nature Rub-on (Compass)
This masculine-style graduation card was created with scraps left from Mama-Razzi layouts shared in May on the BoBunny blog. Tip: Create a cluster and use little scraps, stapled on for added embellishment, as a focal for your card sentiment.
Visit Rita's blog for more tips: http://colorfullycreating.blogspot.com
Congratulations Graduate
Designer: Dee Gallimore-Perry
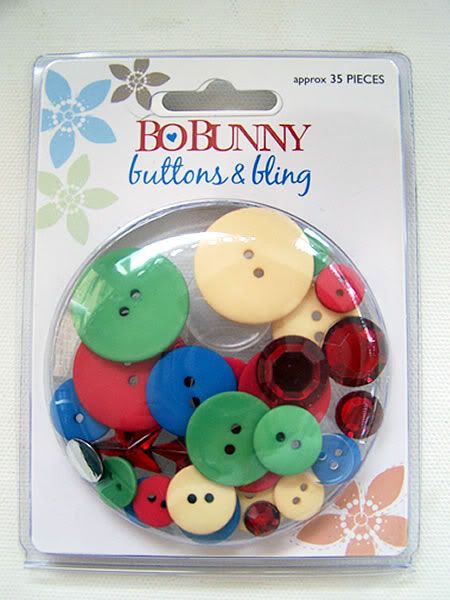
BoBunny Mama-razzi Dot, Mama-razzi Stripe, Mama-razzi Cut Outs, Mama-razzi Combo Sticker, Mama-razzi Flowers, Mam-razzi iCandy Brads, Mama-razzi Buttons & Bling, Glitter Mam-razzi iCandy Stickers, Dark Denim Dot Double Dot Cardstock (Card Base)

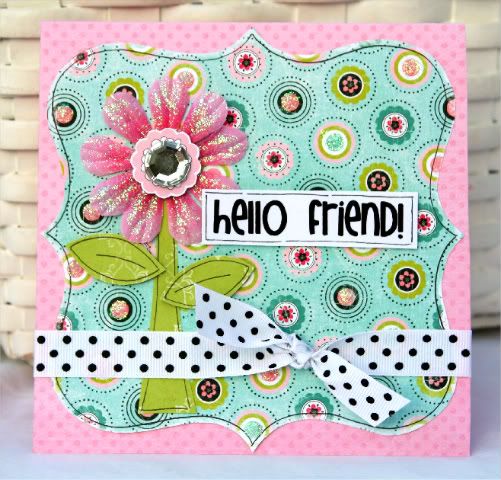
Congratulations Graduate
Designer: Patti Milazzo
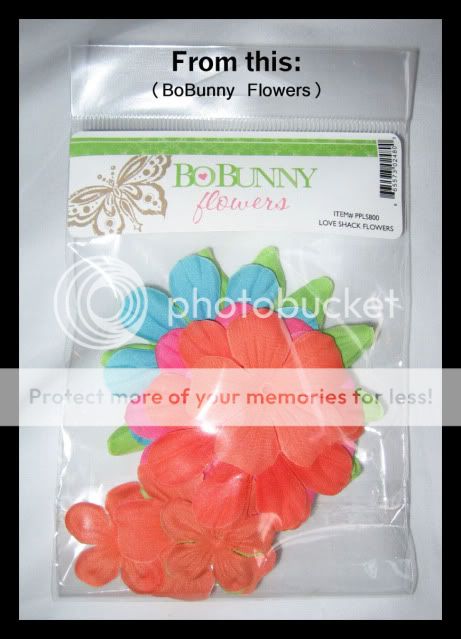
Bo Bunny Supply List: Mama-Razzi patterned papers – Stripe, Word, Mama-Razzi and Shutter; Mama-Razzi Flowers; Mama-Razzi iCandy Brads; Mama-Razzi iCandy Jewels; This Is Me Stickers; and Mama-Razzi Combo Stickers
Designer Note: I layered Bo Bunny fabric flowers with patterned paper punched/cut flowers for contrast and to give the flower more bulk.
Congratulations Grad!
Designer: Christine Ousley
Jaymne papers: Symmetry, Noteworthy, Double Dot cardstock: Boysenberry, Passion Fruit, Stamps: Jazmyne Clearly, Embellishments: Jazmyne iCandy Jewels, Letter Stickers: Flutter Butter 12" Combo Sticker
Congrats
Designer: Robyn Weatherspoon
Mama-razzi Film paper, Mama-razzi Tabloid paper, Mama-razzi Stripe paper, Mama-razzi iCandy Brads, Mama-razzi Flowers
And we want to thank everyone who joined in and make the Blog Hop such a success! Did you find out who the Guest Designer is??
That's right it's Jen Gallacher!! Designer extraordinaire!!
Jen will join our Designers this month and share projects with you using our Roughin' It and Paradise lines! We can't wait!!
And speaking of hops....we need to give a big shout out to our blog hop winner...
Jessica Wekenman said...
Yay!!! I can't wait to see what you have in store for us this month! I enjoyed hopping! Have a GREAT Memorial Day weekend!
9:00 AM
Congrats to Jessica Wekenman! Jessica you've won some of our Roughin' It collection! Be sure to email us at Bobunnyblog@gmail.com with your contact information!!
We also need to announce the winner of our prior Card Sketch Challenge! There were many outstanding entries....so please give a warm congrats to Dawne
 and her beautiful card!! Congrats to you Dawne! Please email us at Bobunnyblog@gmail.com with your contact info! Thanks again to everyone who joined us in this challenge.
Be sure to tune in this week! We'll be sharing projects using our Roughin' It collection along with idea for Dad and we have some layout challenge winners to announce as well!
Don't miss a day!